PEL Inverter AC Error Codes List and Troubleshooting Guide
Updated 7 September 2026 · By SolarNevs Research Desk, Dealer surveys + verified sources · 1 source · Method ↗
Key Takeaways
- PEL Inverter AC error codes are primarily derived from community reports and service technician observations, not official manufacturer manuals.
- Always perform a basic power cycle (disconnecting power for 5-10 minutes) as a first troubleshooting step for any error.
- Before any physical inspection or work, always isolate the AC unit from mains power to avoid severe electrical shock.
- For issues involving refrigerant, internal components, or persistent electrical faults, contact a qualified technician.
What do PEL Inverter AC error codes mean?
PEL Inverter AC error codes indicate specific malfunctions within the air conditioning system. While PEL (Pak Elektron Limited) does not publish official manuals for these codes, their meanings are widely reported by service technicians and the community. These codes are generally applicable to "PEL Inverter AC units" but may not be universal across all specific models or series.
When an error code appears, the most common cause is often a minor issue like a clogged filter or a temporary power fluctuation. The first step is always to power cycle the unit and check basic external factors before consulting the specific code.
Diagnosing a PEL Inverter AC Error
Follow these steps to diagnose an error code on your PEL Inverter AC unit:
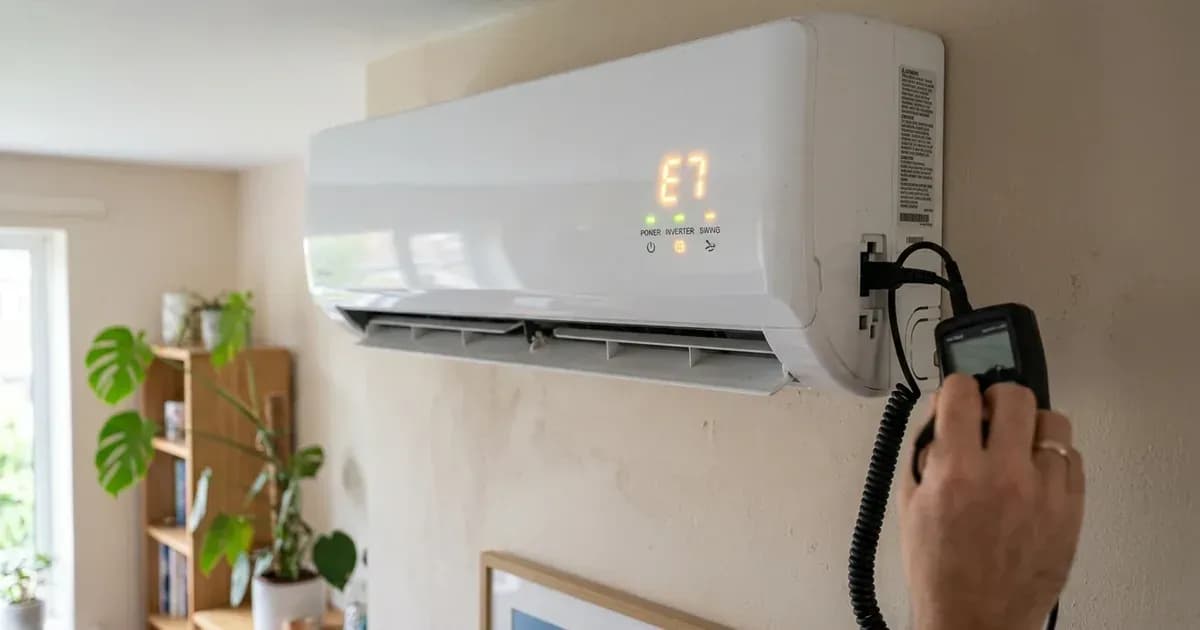
- Note the Error Code: Observe the display on your indoor unit and write down the exact error code shown (e.g., FA, P2, E5).
- Power Cycle the Unit: Disconnect the AC unit from its main power supply for at least 5 to 10 minutes. This can reset the system and clear temporary glitches.
- Check Basic External Factors:
- Air Filters: Ensure the indoor unit's air filters are clean and not obstructed.
- Outdoor Unit: Verify that the outdoor unit is free from debris and has proper airflow around it.
- Power Supply: Check if there have been recent power fluctuations or outages. Ensure the circuit breaker for the AC is not tripped.
- Consult the Error Code Table: Refer to the table below for the meaning of the specific error code you observed and the recommended fix direction.
- Perform Basic Checks (if applicable): For sensor errors, check visible wire connections. For fan errors, ensure no obstructions.
- Safety First: If any troubleshooting step requires opening the unit or working with electrical components, ensure the unit is completely isolated from power (main breaker off) and wait for capacitors to discharge.
PEL Inverter AC Error Code Meanings and Fixes
The following error codes and their meanings are derived from community reports and service technician observations, not official manufacturer manuals. These codes are reported for "PEL Inverter AC units" generally, without specific model or series attribution.
Code | Meaning | Fix Direction | Evidence Grade |
|---|---|---|---|
FA | Recirculated Sensor Error | Clean the air filter and sensor area; Check and secure all wire connections; Reset unit by disconnecting power for 30 minutes; Replace faulty sensor if necessary; Contact professional service if error persists. | [COMMUNITY] |
P2 | High Voltage Switch Protection | Install a voltage stabilizer; Check home circuit breakers and wiring; Wait for power to normalize before restart; Schedule inspection of internal AC circuitry; Contact an electrician to assess power supply. | [COMMUNITY] |
P3 | Refrigerant Deficiency Protection | Conduct a leak test; Repair identified leaks; Recharge system with correct refrigerant type; Check all connection points for proper sealing; Contact a certified technician. | [COMMUNITY] |
P4 | Refrigerant Overload Protection | Remove excess refrigerant (professional help needed); Clean condenser coils and replace air filters; Ensure proper clearance around outdoor unit; Check and replace faulty expansion valve; Schedule regular maintenance. | [COMMUNITY] |
P5 | Exhaust Protection | Clear all vents and ensure proper airflow; Clean or replace air filters; Check refrigerant levels and recharge if necessary; Inspect compressor for wear/damage; Test and replace faulty temperature sensors; Reset system after corrections. | [COMMUNITY] |
P6 | Indoor Unit High-Temperature Protection | Clean or replace clogged air filters; Remove any obstructions from air vents; Ensure proper clearance around indoor unit; Check and repair fan motor if necessary; Reset system after it cools down; Relocate unit if installed near heat sources. | [COMMUNITY] |
P7 | Anti-Freezing Protection | Maintain room temperature above 16°C (60°F); Check and refill refrigerant if necessary; Clear obstructions from air vents; Clean or replace air filters regularly; Test and replace defective temperature sensors; Reset unit after addressing issue. | [COMMUNITY] |
P8 | Overcurrent Protection | Inspect all electrical connections for damage; Test compressor for electrical faults; Install a voltage stabilizer; Check circuit boards for visible damage/burning; Reset circuit breaker after resolving issue; Contact qualified technician for electrical repairs. | [COMMUNITY] |
E0 | Indoor Unit Overcurrent Protection | Inspect indoor fan motor for free movement; Check all wiring connections for damage; Test circuit board for visible burn marks; Install a surge protector or voltage stabilizer; Power cycle unit after repairs; Consult professional technician. | [COMMUNITY] |
E1 | Indoor Unit Temperature Sensor Error | Check all sensor wire connections for secure attachment; Inspect temperature sensor for visible damage; Test sensor with a multimeter; Clean sensor area with compressed air; Replace faulty temperature sensor; Reset unit after sensor replacement. | [COMMUNITY] |
E2 | Outdoor Unit Coil Sensor Error | Inspect outdoor coil sensor for visible damage; Check all wire connections to the sensor; Test sensor resistance with a multimeter; Replace faulty sensor if readings are abnormal; Verify proper communication between boards; Reset system after component replacement. | [COMMUNITY] |
E3 | Indoor Unit Coil Sensor Error | Inspect sensor for visible damage; Check and secure all wire connections to the sensor; Clean connector terminals with contact cleaner; Test sensor resistance with a multimeter; Replace faulty coil sensor if readings are incorrect; Reset system after repairs. | [COMMUNITY] |
E4 | Indoor Unit Fan Error | Remove any objects that block fan rotation; Lubricate or replace worn-out bearings; Check all wire connections to the fan motor; Test and replace fan capacitor if necessary; Install a new fan motor if current one fails tests; Reset unit after repairs. | [COMMUNITY] |
E5 (5E) | Indoor and Outdoor Unit Communication Error | Inspect and reconnect all communication cables; Check power supply to both indoor and outdoor units; Test terminals for corrosion or water damage; Reset both units by disconnecting power for 5 minutes; Replace faulty control boards if necessary; Shield communication cables from interference sources. | [COMMUNITY] |
E8 | Display Board and Main Control Panel Communication Error | Check and reseat all connection cables; Inspect for bent or corroded connector pins; Move electronic devices away from the AC unit; Dry any moisture inside the control panel; Replace faulty circuit boards if necessary; Install a power stabilizer. | [COMMUNITY] |
F0 | Outdoor Unit Fan Error | Remove debris or objects around the outdoor unit; Test fan motor for proper resistance values; Replace fan capacitor if it is swollen or damaged; Check and secure all electrical connections; Inspect control board for burn marks; Replace fan motor if all else fails. | [COMMUNITY] |
F1 | Module Protection Error | Ensure proper ventilation around the control unit; Install a voltage stabilizer; Check and secure all electrical connections; Allow unit to cool down before restart; Reset system by disconnecting power for 10 minutes; Contact professional service for module replacement. | [COMMUNITY] |
F2 | Power Factor Correction (PFC) Board Error | Reset unit by disconnecting power for 10 minutes; Check for loose connections to the PFC board; Inspect board for visible damage or burnt components; Replace faulty capacitors if identified; Install a voltage stabilizer; Replace entire PFC board if necessary. | [COMMUNITY] |
F3 | Compressor Out of Step Error | Install a voltage stabilizer; Check refrigerant pressures and adjust if necessary; Inspect inverter control board for damage; Test electrical connections to the compressor; Replace compressor if internal damage exists; Reset system after addressing issue. | [COMMUNITY] |
F4 | Exhaust Sensor Error | Check all sensor connections for secure attachment; Inspect wiring between the sensor and control board; Test sensor resistance with a multimeter; Replace exhaust sensor if readings are abnormal; Reset AC unit after sensor replacement; Contact certified technician. | [COMMUNITY] |
F5 | Compressor Top Head Sensor Error | Check all sensor wire connections; Inspect sensor for visible damage; Clean corrosion from sensor terminals; Test sensor resistance with a multimeter; Replace faulty sensor if necessary; Reset unit after sensor replacement. | [COMMUNITY] |
F6 | Outdoor Unit Temperature Sensor Error | Check sensor wire connections for looseness; Inspect sensor for visible damage; Test sensor resistance with a multimeter; Clean corrosion from sensor terminals; Replace faulty temperature sensor; Reset system after sensor replacement. | [COMMUNITY] |
F7 | Overvoltage Protection (OVP) or Undervoltage Protection (UVP) Error | Install a dedicated voltage stabilizer; Use a surge protector; Avoid connecting other high-power devices on the same circuit; Check home wiring for capacity issues; Contact electricity provider about grid stability; Consider a whole-home power conditioner. | [COMMUNITY] |
F8 | Outdoor Unit Control Panel and Module Panel Communication Error | Check and secure all connection cables; Inspect circuit boards for visible damage; Move potential interference sources away from the unit; Power cycle the system completely; Replace damaged communication modules; Update control firmware if available. | [COMMUNITY] |
F9 | Outdoor EEPROM Error | Reset system by disconnecting power for 3-5 minutes; Update firmware if available from PEL support; Replace outdoor unit PCB if reset fails; Install a surge protector; Contact professional service for EEPROM reprogramming. | [COMMUNITY] |
EC | Gas leakage / Low gas | Immediately turn off AC; Have a technician check for leaks and refill gas. | [COMMUNITY] |
CF | Clean Filter | Clean filter, even if they look okay, a thin layer of dust can trigger the sensor or the timer. | [COMMUNITY] |
FF | Outdoor fan not spinning | Check if the outdoor fan is spinning; If not, the system throws the FF code and prevents the compressor from engaging. | [COMMUNITY] |
L5 | General error, possibly PCB related | Turn off the AC using the remote, then switch off the main circuit breaker for at least 10 minutes to discharge capacitors and reset error memory. | [COMMUNITY] |
H3 | Compressor Overload Protection | Check if outdoor unit is in direct heat or if outdoor condenser is dirty; Compressor Overload Protection relay activates to prevent compressor damage. | [COMMUNITY] |
P0 / P1 | Voltage issue (High or Low) | Indicates very high or very low voltage. | [COMMUNITY] |
Running this AC on Solar or UPS
PEL Inverter AC units are designed for efficient operation. While the "Inverter AC" designation implies a soft-start capability, specific technical details such as the rated input voltage range, minimum start voltage, and inrush/starting current for PEL Inverter AC units are not officially published by the manufacturer.
For general guidance on powering air conditioners with solar or UPS systems, including considerations for sizing and compatibility, you can refer to our comprehensive guide on /pk/guides/systems/pel-inverter-ac-solar-ups-compatibility.
Safety: Working with AC Units
Air conditioning units operate with high voltage electricity and contain components that can store electrical charge even after power is disconnected. Always prioritize safety when troubleshooting:
- Isolate Power: Before performing any physical inspection, opening covers, or touching internal components, always turn off the AC unit at the main circuit breaker. Do not rely solely on the remote control or the unit's power button.
- Capacitor Discharge: After disconnecting power, wait at least 10 minutes for internal capacitors to discharge. These components can store dangerous levels of electricity.
- Insulated Tools: If you must work near electrical terminals, use only insulated tools.
- Refrigerant: Refrigerant is under pressure and can cause frostbite or other injuries if released. Only certified technicians should handle refrigerant.
- Professional Help: Many troubleshooting steps, especially those involving internal electrical components, refrigerant, or compressor issues, should only be performed by a qualified and certified AC technician.
When to call a technician instead
While basic troubleshooting can resolve many common issues, certain problems require professional expertise. You should call a qualified technician if:
- The error code persists after you have followed the recommended fix directions and performed a power cycle.
- The issue involves refrigerant (e.g., P3, P4, EC errors), as handling refrigerant requires specialized tools and training.
- The problem points to internal electrical components like circuit boards (e.g., F1, F2, F9 errors) or the compressor (e.g., F3, H3 errors).
- You are uncomfortable or unsure about any troubleshooting step, especially those involving electrical connections or opening the unit.
- The unit is still under warranty, as attempting DIY repairs on internal components may void it.
Still showing the fault? Book a technician
If the steps above did not clear it, tell us the inverter or battery and the exact code. We pass it to a technician who covers your city; visit charges are quoted before they come.
How this pays for the site: the technician or verifier pays SolarNevs a fixed introduction fee. Nobody pays to be recommended, and you are free to use our free guides instead.
Frequently asked questions
What does the FA error code mean on a PEL Inverter AC?
The FA error code on PEL Inverter AC units commonly indicates a recirculated sensor error. This is often resolved by cleaning the air filter and sensor area, checking wire connections, or resetting the unit by disconnecting power for 30 minutes. This information is community-reported.
How do I fix a P2 error on my PEL Inverter AC?
A P2 error code on PEL Inverter AC units signals high voltage switch protection. Install a voltage stabilizer, check home circuit breakers, and wait for power to normalize. If the issue persists, contact an electrician to assess your power supply. This is a community-reported solution.
What should I do if my PEL Inverter AC shows an E5 (5E) error?
The E5 (5E) error code on PEL Inverter AC systems indicates a communication breakdown between the indoor and outdoor units. Inspect and reconnect all communication cables, check power supply to both units, and reset both by disconnecting power for 5 minutes. This information is commonly reported by installers.
What causes the F1 error code on a PEL Inverter AC?
The F1 error code on PEL Inverter AC units is commonly reported as a module protection error, often indicating a power module problem. Ensure proper ventilation, install a voltage stabilizer, and check electrical connections. Resetting the system by disconnecting power for 10 minutes may resolve it. This is a community-reported issue.
My PEL Inverter AC shows an EC error. What does it mean?
The EC error code on PEL Inverter AC units commonly indicates gas leakage or low gas levels. If you see this code, immediately turn off the AC and have a technician check for leaks and refill the refrigerant. This is a community-reported meaning.
References
- ElectraFix PEL Inverter AC Error Codes — accessed 23 August 2026
Related guides
More from inverter errors & fixes.