GoodWe Inverter Error Codes: Troubleshooting ET, A-ES, and ES Series
Updated 6 September 2026 · By SolarNevs Research Desk, Dealer surveys + verified sources · 2 sources · Method ↗
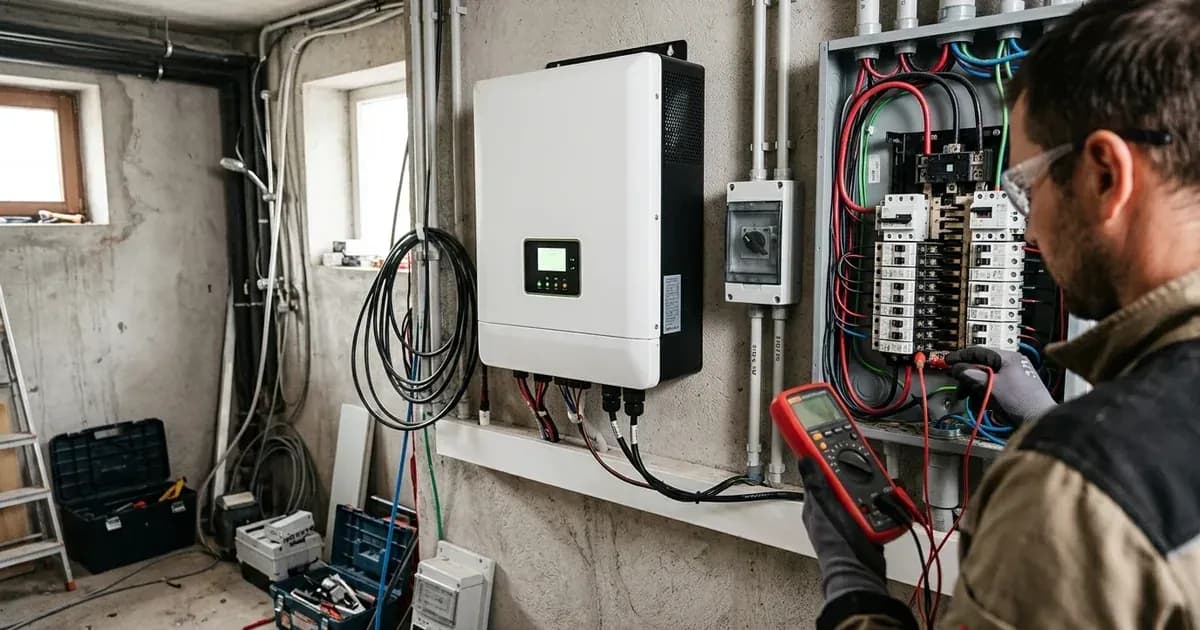
GoodWe inverters are designed with robust self-diagnostic capabilities, displaying specific error codes when a fault occurs. Understanding these codes and their corresponding troubleshooting steps is crucial for maintaining system uptime and safety. This guide provides diagnostic information for common error codes encountered on GoodWe ET, A-ES, and ES series inverters, covering issues such as grid failures, isolation faults, and over-temperature conditions.
Safety First
Before attempting any troubleshooting or maintenance on your GoodWe inverter, prioritize safety.
- Qualified Personnel Only: Installation, operation, and maintenance must be performed by qualified electricians.
- High Voltage/Electric Shock: Danger of high voltage and electric shock. Wait at least 5 minutes after disconnecting all power (PV, battery, AC grid) before touching internal parts.
- Hot Surface: The inverter surface can exceed 60℃ during operation. Ensure it has cooled down before touching.
- Unauthorized Modifications: Do not open the inverter cover or change components without manufacturer's authorization, as this invalidates the warranty.
Common GoodWe Inverter Error Codes and Troubleshooting
The following table summarizes common error codes and their initial troubleshooting steps for GoodWe ET, A-ES, and ES series inverters.
Code | Meaning | Initial Fix Direction |
|---|---|---|
09 | Utility Loss | Check grid power, AC cables, AC breaker, AC connection. Cycle AC breaker. |
10 | Ground I failure | Check earth & inverter frame voltage, neutral & ground cable connections. |
13 | Over Temperature | Reduce ambient temperature, ensure airflow, check cooling fins, power cycle. |
17 | AC Failure | Check grid power, AC cables, AC breaker, AC connection. Cycle AC breaker. |
25 | Relay check failure | Measure grid ground-neutral voltage (<10V), backup output ground-neutral resistance (<10Ohm). |
29 | FAC Failure | Check grid power, AC cables, AC breaker, AC connection. Cycle AC breaker. |
N/A | ISO failure | Connect PV strings one by one, check DC cable insulation, AC N&PE voltage, panel ground cable. |
N/A | DC Injection high | Contact service centre. |
Detailed Troubleshooting Protocols
For more complex issues, follow these step-by-step diagnostic protocols.
Grid Connection Failures (Utility Loss, AC Failure, FAC Failure, Relay Check Failure)
These errors indicate a problem with the inverter's connection to the utility grid or the grid supply itself.
Symptoms:
- Error Code 09: Utility Loss
- Error Code 17: AC Failure
- Error Code 29: FAC Failure
- Error Code 25: Relay check failure
- Inverter not producing AC output to the grid.
Troubleshooting Steps:
- Verify Grid Power Availability:
- Confirm that the public grid power is available. Check your utility meter or other grid-connected devices.
- Action: If there's a grid outage, wait for power to be restored.
- Inspect AC Cabling and Connections:
- Ensure all AC cables are connected tightly to the inverter's AC terminals and the main electrical panel.
- Check for any visible damage to the AC wiring.
- Action: Tighten any loose connections. Replace damaged cables if necessary (by qualified personnel).
- Check AC Breaker Functionality:
- Locate the AC breaker that supplies power to the inverter.
- Ensure the AC breaker is in the "ON" position and has not tripped.
- Action: If the breaker is tripped, reset it. If it trips again immediately, there may be a short circuit or overload on the AC side.
- Confirm Correct AC Connection:
- Verify that the AC connection to the inverter is correct according to the installation manual.
- For three-phase systems, if you encounter "Phase order Fault" (Code 14ETU) or "Phase Angle Failure" (Code 27ETU), you may need to swap L2 and L3 on the AC terminals.
- Action: Correct any wiring discrepancies.
- Power Cycle AC Breaker:
- Turn off the AC breaker for 5 minutes, then turn it back on. This can reset the inverter's grid detection.
- Relay Check Failure (Code 25) Specifics:
- This error can occur if neutral and ground cables are not well connected on the AC side.
- Measurement: Measure the voltage between ground and neutral on the grid side; it should be less than 10V.
- Measurement: Measure the resistance between ground and neutral on the backup output; it should be less than 10 Ohm.
- Action: If measurements are outside these ranges, inspect and secure neutral and ground connections.
Isolation Faults (Ground I failure, ISO failure)
Isolation faults indicate a leakage current to ground, often due to damaged wiring or moisture.
Symptoms:
- Error Code 10: Ground I failure
- Error Code N/A: ISO failure
- Inverter not operating or shutting down unexpectedly.
Troubleshooting Steps:
- Check Earth and Inverter Frame Voltage (Code 10):
- Measure the voltage between the earth connection and the inverter frame. It should be approximately 0V.
- Action: If the voltage is high, it suggests that the neutral and ground cables are not well connected on the AC terminals. Inspect and secure these connections.
- Inspect PV Panel Leakage (Code 10):
- If "Ground I failure" only occurs on humid days, it may be due to PV panel leakage.
- Action: Inspect PV panels and wiring for moisture ingress or insulation damage.
- Connect PV Strings One by One (ISO failure):
- Disconnect all PV strings from the inverter.
- Reconnect them one by one to identify which string is causing the isolation fault.
- Action: Once the faulty string is identified, proceed to inspect its components.
- Check Insulation Resistance of DC Cables (ISO failure):
- Using a multimeter, measure the resistance between PV positive and negative to ground. This should be greater than 30k Ohm.
- Action: If resistance is low, inspect DC cables for damage, moisture, or poor insulation.
- Check AC Neutral and PE Cable Voltage (ISO failure):
- Measure the voltage between the neutral (N) and protective earth (PE) cable on the AC terminals. This should be less than 10V.
- Action: If higher, there's an issue with the neutral-earth bond or wiring.
- Inspect Ground Cable of Each PV Panel (ISO failure):
- Ensure the ground cable of each PV panel is properly connected and secure.
- Action: Re-establish any loose or missing ground connections.
Over Temperature (Code 13)
This error indicates that the inverter's internal temperature has exceeded safe operating limits.
Symptoms:
- Error Code 13: Over Temperature
- Inverter reducing output or shutting down.
- Inverter surface may be hot to the touch.
Troubleshooting Steps:
- Decrease Surrounding Temperature:
- Ensure the ambient air temperature around the inverter is not excessively high.
- Action: If possible, improve ventilation in the installation area or provide shading if the inverter is in direct sunlight.
- Ensure Proper Airflow:
- Verify that the inverter installation complies with the manual's recommendations for airflow. GoodWe ET series, for example, requires 300mm upward, 500mm downward, and 200mm to the sides/front for heat dissipation.
- Action: Clear any obstructions around the inverter that might impede airflow.
- Check for Obstructions in Cooling Fins:
- Inspect the inverter's cooling fins for dust, debris, or other blockages.
- Action: Carefully clean any obstructions from the cooling fins.
- Power Cycle Inverter:
- Switch off the inverter for 15 minutes to allow it to cool down completely, then switch it back on.
DC Injection High (N/A)
This fault indicates that the inverter is detecting a higher DC component in its AC output than allowed by local grid regulations.
Symptoms:
- Error Code N/A: DC Injection high
- Inverter may shut down to protect the grid.
Troubleshooting Steps:
- Contact Service Centre:
- Official technical documentation indicates that this issue requires professional intervention.
- Action: Contact your installer or GoodWe service centre for diagnosis and resolution. This often involves internal inverter diagnostics or firmware adjustments that only authorized personnel can perform.
When to Contact GoodWe Support
If, after following these troubleshooting steps, the error persists, or if you encounter an error code not listed here, it is recommended to contact your installer or GoodWe's service centre. Providing them with the exact error code, inverter model, and a description of the steps you've already taken will help expedite the support process. Remember that unauthorized modifications can void your warranty.
Still showing the fault? Book a technician
If the steps above did not clear it, tell us the inverter or battery and the exact code. We pass it to a technician who covers your city; visit charges are quoted before they come.
How this pays for the site: the technician or verifier pays SolarNevs a fixed introduction fee. Nobody pays to be recommended, and you are free to use our free guides instead.
Frequently asked questions
How do I clear faults on goodwe inverter error codes troubleshooting?
Isolate DC and AC power, wait 5 minutes for internal capacitors to discharge, verify connections, and restart the unit following manufacturer restart sequence.
Are these error codes universal across countries?
Hardware error codes and communication protocols are brand-global, but grid voltage and frequency trip thresholds are governed by regional standards.
References
- GoodWe Grid-Tied Inverter User Manual — accessed 27 August 2026
- GoodWe Solar Inverter Service Center — accessed 27 August 2026
Related guides
More from inverter errors & fixes.