Victron BlueSolar MPPT Charge Controller Configuration with mpptprefs
Updated 9 September 2026 · By SolarNevs Research Desk, Dealer surveys + verified sources · 1 source · Method ↗
Key Takeaways
-
mpptprefsis a legacy tool for configuring Victron BlueSolar MPPT charge controllers; VictronConnect is the current recommended software. - You need a VE.Direct to USB cable and a Windows PC to use
mpptprefs. - Ensure the charge controller is powered on before attempting configuration; some models require solar input.
- Incorrect voltage or current settings can damage your battery bank or connected loads.
What is mpptprefs and why use it?
mpptprefs is a command-line and interactive tool for Windows PCs designed to configure Victron BlueSolar MPPT Charge Controllers. While Victron Energy now recommends using their VictronConnect software for configuration, mpptprefs remains a functional tool for specific scenarios, particularly for batch programming or when a command-line interface is preferred.
This tool allows you to adjust critical parameters such as battery voltage settings, absorption and float voltages, current limits, and even advanced lighting controller functions.
How to connect your Victron BlueSolar MPPT controller
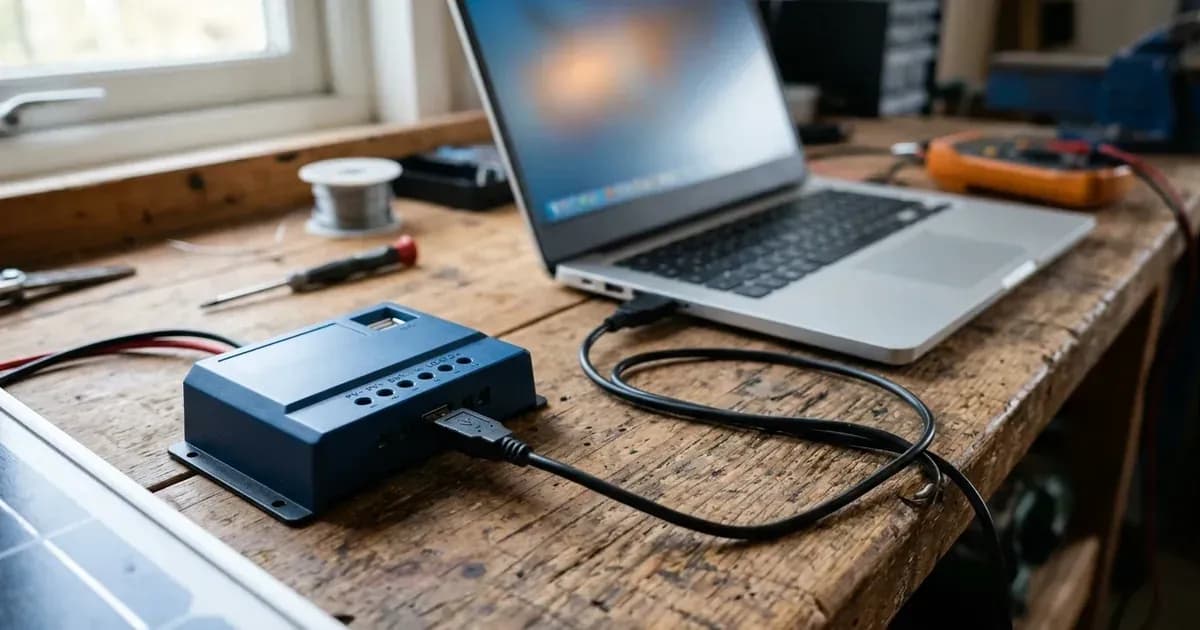
To configure your Victron BlueSolar MPPT charge controller using mpptprefs, you need a physical connection to a Windows PC.
- Obtain a VE.Direct to USB cable. This proprietary cable connects the charge controller's VE.Direct port to a standard USB port on your computer.
- Connect the cable. Plug one end of the VE.Direct to USB cable into the VE.Direct port on your BlueSolar MPPT charge controller. Connect the other end to an available USB port on your Windows PC.
- Ensure the charge controller is powered. The MPPT controller must be powered on for
mpptprefsto detect and communicate with it.
- BlueSolar MPPT 70/15, 75/10, 75/15, and 100/15 models can be powered from either the battery terminals or the solar panel terminals.
- Other BlueSolar MPPT models, such as the 100/30, 100/50, 150/35, 150/45, 150/60, 150/70, 150/85, and 150/100, require power from the solar panel terminals.
- Install necessary drivers. If your VE.Direct to USB cable is not recognized by your system, you may need to download and install the appropriate driver. Victron Energy typically provides these drivers in the VE Power Setup section of their software page.
Diagnosing connection issues
If mpptprefs cannot connect to your charge controller, follow these steps:
- Verify cable connection. Ensure the VE.Direct to USB cable is securely plugged into both the MPPT controller and your PC.
- Check device manager. Open your Windows Device Manager and look for a new COM port when the cable is connected. If it is not present or shows an error, the driver may be missing or corrupted.
- Install/reinstall drivers. If a driver issue is suspected, download the latest VE.Direct to USB drivers from the Victron Energy website and install them.
- Confirm power to the MPPT. Double-check that the charge controller is receiving power, either from the battery or the solar panels, depending on the model.
- Try a different USB port or PC. Sometimes, a faulty USB port or conflicts with other software can prevent connection.
Configuring settings in interactive mode
Once connected, you can use mpptprefs in interactive mode for direct configuration.
- Launch
mpptprefs.exe. Double-click the executable file. The tool will scan available COM ports, attempt to locate your MPPT charger, and download its current settings. - Navigate settings. The interactive interface will display a menu of configurable settings. You can modify values directly.
- Save changes. After making adjustments, typically by pressing 'x' and then Enter, the changes will be saved to the charge controller.
Using mpptprefs in batch mode
For configuring multiple charge controllers with the same settings, mpptprefs offers a batch mode using the Windows Command Prompt (cmd.exe).
- Open Command Prompt. Navigate to the directory where
mpptprefs.exeis located. - Identify the COM port. Determine the COM port assigned to your VE.Direct to USB cable (e.g.,
COM3). - Execute commands. Use the following syntax for specific settings:
- Set Battery Voltage:
mpptprefs -s COMx -y [voltage](e.g.,mpptprefs -s COM3 -y 24for 24V fixed voltage, ormpptprefs -s COM3 -y 0for auto-detection). - Set Absorption Voltage:
mpptprefs -s COMx -a [voltage](e.g.,mpptprefs -s COM3 -a 14.8). - Set Float Voltage:
mpptprefs -s COMx -f [voltage](e.g.,mpptprefs -s COM3 -f 13.7). - Set Current Limit:
mpptprefs -s COMx -c [current](e.g.,mpptprefs -s COM3 -c 10for 10 Amps). - Enable/Disable Batterysafe Mode:
mpptprefs -s COMx -b [0/1](0 for off, 1 for on). - Set Equalisation Voltage:
mpptprefs -s COMx -i [voltage]. - Set Auto Equalise Mode:
mpptprefs -s COMx -j [mode](0=off, 1=daily, 2=every other day, up to 250 days). - Set Temperature Compensation:
mpptprefs -s COMx -k [value](range -21mV/K to 21mV/K, 0 to disable). - Set Absorption Time Limit:
mpptprefs -s COMx -m [hh:mm](e.g.,mpptprefs -s COM3 -m 02:30for 2 hours 30 minutes). - Reset to Factory Defaults:
mpptprefs -s COMx -r. - Clear History Data:
mpptprefs -s COMx -e. - Synchronize Clock:
mpptprefs -s COMx -n.
- Set Battery Voltage:
- Transfer settings via XML. You can export settings from one controller and apply them to others:
- Output to file:
mpptprefs -s COMx -o settings.xml - Upload from file:
mpptprefs -s COMx -u settings.xml
- Output to file:
- Verify configuration. To check the current settings of a controller and dump them to the screen:
mpptprefs -s COMx -g.
Advanced settings and lighting control
mpptprefs also provides access to more specialized settings, particularly for load output and integrated lighting control functions. These are often accessed through interactive mode or specific command-line options.
Setting Detail | | Description |
|---|---|---|
Battery voltage setting | | Auto detection (0) or fixed voltage (12, 24, 36, 48). |
Absorption voltage | | Sets the voltage level for the absorption charge stage. |
Float voltage | | Sets the voltage level for the float charge stage. |
Current limit | | Defines the maximum charge current the MPPT will deliver. |
Equalisation voltage | | Sets the voltage for the equalization charge stage. This operation drives the cell into the hydrogen gassing region; ensure the battery bank is in a well-ventilated space, and there are no sparks or flames nearby. |
Auto equalise mode | | Configures the frequency of automatic equalization (0=off, 1=daily, etc.). This operation drives the cell into the hydrogen gassing region; ensure the battery bank is in a well-ventilated space, and there are no sparks or flames nearby. |
Temperature compensation | | Adjusts charge voltages based on battery temperature (e.g., -21mV/K to 21mV/K). A value of 0 disables compensation. |
Absorption time limit | | Sets the maximum duration for the absorption charge stage. |
Load switch high voltage level (modes 5 and 6) | Interactive mode, option 'h' | Custom voltage level for load output control. |
Load switch low voltage level (modes 5 and 6) | Interactive mode, option 'l' | Custom voltage level for load output control. |
Lighting controller (timer) | Interactive mode, option 's' | Enables or disables the integrated lighting controller. |
Lighting controller timer programs | Interactive mode, option 'p' | Configures sunset/sunrise actions, dim levels, and gradual dimming. |
Mid-point shift (lighting) | Interactive mode, option 'm' | Adjusts the midpoint for lighting control schedules. |
Gradual dimming (speed) | Interactive mode, option 's' | Sets the speed of gradual dimming (0=immediate, 9=dim from 0 to 100% in 15 minutes). |
Panel voltage tweaks (night/day detection) | Interactive mode, option 't' | Adjusts thresholds for day/night detection; 0 uses defaults. |
VE.Direct TX Port function | Interactive mode, option 'p' | Configures the VE.Direct TX port for normal comms, pulse output, or PWM dimming (fixed 160Hz, 5V). |
VE.Direct RX Port function | Interactive mode, option 'q' | Configures the VE.Direct RX port for remote on/off or load output control. |
Safety: Electrical connections and battery chemistry
Working with solar charge controllers and batteries involves electrical hazards. Always prioritize safety.
- Isolate power. Before making or breaking any electrical connections, ensure all power sources are disconnected. This includes solar panels (cover them or disconnect PV input) and battery banks (disconnect battery terminals).
- Use insulated tools. When tightening or disconnecting terminals, use tools with insulated handles to prevent accidental short circuits. A spanner across battery terminals can short hundreds of amps, causing severe burns or fire.
- Wear personal protective equipment. Always wear eye protection when working near batteries, especially during operations like equalization or hydrometer testing, as these can expose you to corrosive battery acid.
- Ventilation for flooded batteries. If your system uses flooded lead-acid batteries, ensure adequate ventilation, particularly during equalization or boost charging. These processes can produce hydrogen gas, which is highly flammable and explosive.
- Verify settings. Incorrect voltage or current settings can overcharge or undercharge batteries, leading to reduced lifespan, damage, or safety hazards. Double-check all configured values against your battery manufacturer's specifications.
When to call a technician instead
While mpptprefs allows for detailed configuration, there are situations where professional assistance is necessary.
- Persistent connection issues. If you cannot establish communication with your MPPT controller despite following all connection and driver steps, there may be a hardware fault with the controller or the cable.
- Uncertainty about settings. If you are unsure about the correct voltage, current, or other parameters for your specific battery type or system, consult a qualified solar technician. Incorrect settings can void warranties or cause system damage.
- System malfunctions after configuration. If your solar system behaves unexpectedly or shows error codes after you have adjusted settings, and you cannot resolve the issue by reverting changes, seek professional help.
- Physical damage to equipment. Any signs of physical damage, burning smells, or unusual noises from the charge controller or associated components warrant immediate disconnection of power and a call to a technician.
Frequently asked questions
What is mpptprefs?
mpptprefs is a software tool designed for configuring settings on Victron BlueSolar MPPT Charge Controllers. It allows users to adjust various operational parameters of the charge controller.
Is mpptprefs the recommended tool for Victron MPPT configuration?
No, Victron Energy states that mpptprefs is deprecated. The company recommends using VictronConnect software for configuring their charge controllers, as it offers a more modern and user-friendly interface.
Which Victron BlueSolar MPPT models can be configured with mpptprefs?
The mpptprefs tool supports various BlueSolar MPPT models, including the 70/15, 75/10, 75/15, 75/50, 100/15, 100/30, 100/50, 150/35, 150/45, 150/60, 150/70, 150/85, and 150/100 models.
How do I connect my Victron MPPT controller to a PC for mpptprefs configuration?
You connect your MPPT charge controller to a Windows PC using a VE.Direct to USB cable. One end plugs into the VE.Direct port on the controller, and the other into a USB port on your computer.
Can mpptprefs be used to configure multiple charge controllers at once?
Yes, mpptprefs supports a batch mode. This allows you to apply the same configuration settings to a large number of charge controllers efficiently using command-line arguments.
References
- Victron Energy VE.Direct:mpptprefs Documentation — accessed 23 August 2026
Related guides
More from inverter errors & fixes.