Victron CCGX Firmware Upgrade to v2: A Manual Guide
Updated 8 September 2026 · By SolarNevs Research Desk, Dealer surveys + verified sources · 1 source · Method ↗
Key Takeaways
- The upgrade from Victron CCGX firmware v1.74 to v2.x is a one-time manual process using a microSD card.
- Correct microSD card formatting (FAT or FAT32) and placing the upgrade files in the root directory are critical for success.
- Specific button presses on the CCGX are required to initiate the manual upgrade sequence.
- Troubleshoot blue screen errors or "Update image not found" messages by verifying the SD card, its contents, and connected devices.
How do I manually upgrade my Victron CCGX firmware to version 2?
The Victron CCGX requires a one-time manual firmware upgrade from version 1.74 to newer versions (v2.x) using a microSD card. This process involves specific steps to prepare the card and initiate the upgrade sequence on the device. Once this initial manual upgrade is complete, subsequent updates can be installed normally.
Diagnosis and Step-by-Step Upgrade Process
Follow these steps carefully to manually upgrade your Victron CCGX firmware to version 2.x. If you encounter issues, refer to the troubleshooting table below.
- Prepare the microSD card: Obtain a microSD card. It should be formatted to FAT or FAT32. Victron recommends using a card that is 32GB or smaller.
- Download the upgrade file: Download the
venus-upgrade-image-ccgx.zipfile. The official download link ishttps://updates.victronenergy.com/feeds/venus/release/images/ccgx/venus-upgrade-image-ccgx.zip. - Extract files to the card: Unzip the contents of the downloaded
venus-upgrade-image-ccgx.zipfile directly to the root folder of your prepared microSD card. Ensure no subfolders are created for the upgrade files. - Safely remove the card: Eject the microSD card safely from your computer.
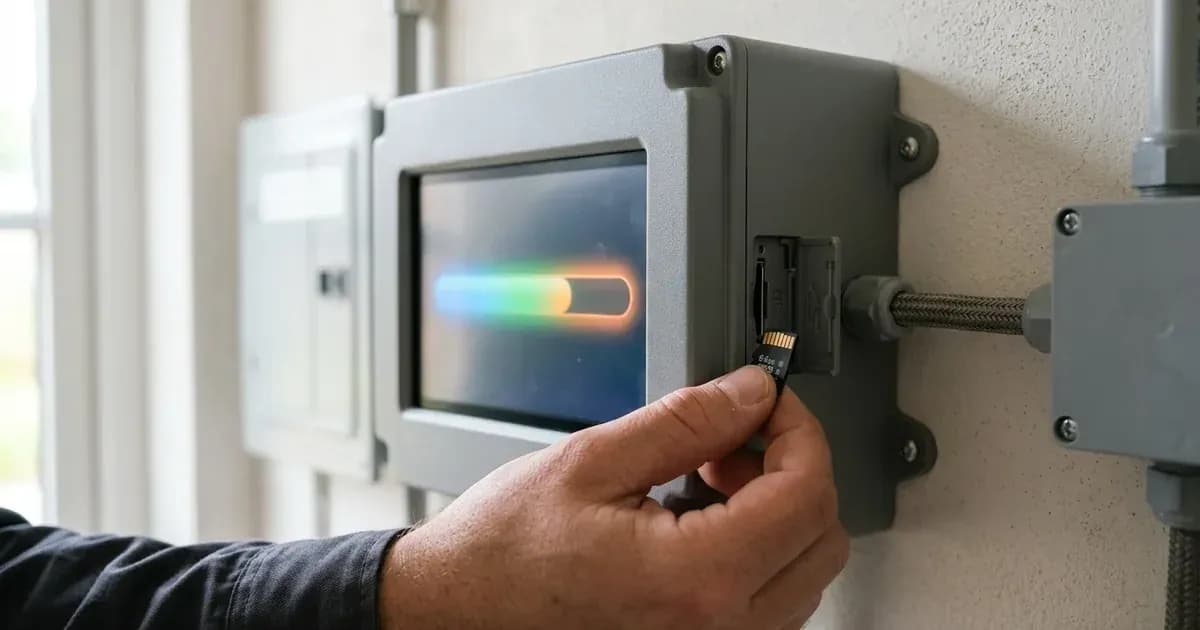
- Insert into CCGX: Insert the microSD card into the CCGX's SD card slot.
- Initiate upgrade sequence (Part 1): Press and hold button E on the CCGX.
- Initiate upgrade sequence (Part 2): While still holding button E, shortly press buttons A and B simultaneously.
- Monitor screen: The CCGX screen should display 'prepare update'.
- Release button E: Once 'prepare update' is shown, you can release button E.
- Wait for update: The update process will progress automatically. This typically takes about 2 minutes.
- Final prompt: After approximately 2 minutes, the screen will display "Remove SD/USB medium and reset system".
- Complete the upgrade: Remove the microSD card from the CCGX. Then, press buttons A and B simultaneously to reboot the system.
After the reboot, your CCGX should be running the new firmware version. All settings in the CCGX and connected devices (Multis, BMV, Solar Charger etcetera) will not be affected by this upgrade.
Troubleshooting Common Upgrade Issues
Symptom detail | Likely cause | Fix |
|---|---|---|
CCGX reboots but doesn't start the upgrade; instead it does a normal boot | Button E not held during the boot sequence | Make sure to hold button E until the upgrade starts. |
A blue screen is shown while booting and after ~1 minute, "Starting" is displayed | Problem with microSD card formatting (not FAT or FAT32), incomplete files on card, broken SD card, or broken SD card slot. | Check microSD card formatting (FAT or FAT32), ensure all files are on the root folder, check if the SD card is broken, check if the SD card slot is broken. |
The screen stays solid blue (no Victron logo) and stays like that forever | Button A pressed after reset, interrupting the boot process. | Make sure button A is released after resetting. Try again, and release A before B. |
"Update image not found. Error installing software" | Missing the | Ensure the |
Post-Upgrade Actions
After successfully upgrading your CCGX firmware, we recommend performing these checks:
- Network configuration: Double-check your WiFi and/or Ethernet passwords and IP configuration, as these might need re-verification depending on your network setup.
- Future updates: Your CCGX is now ready for standard firmware updates. Follow the standard firmware update instructions for the latest versions. Consult the Color Control GX manual for more details.
Safety: Handling the CCGX
No specific safety facts related to the firmware upgrade process are mentioned in the official Victron documentation for the CCGX. However, when handling any electronic device:
- Ensure your hands are clean and dry.
- Avoid static discharge by touching a grounded metal object before handling the device or microSD card.
- Do not force the microSD card into the slot.
- If you need to open the CCGX enclosure for any reason, ensure all power sources (PV, battery, AC) are disconnected and wait for any internal capacitors to discharge. Opening the unit should only be performed by authorized service personnel.
When to call a technician instead
If you have followed all the steps and troubleshooting advice, but your Victron CCGX still fails to upgrade or exhibits persistent issues, it is time to contact a qualified Victron Energy technician. Attempting further repairs or modifications without proper training could damage the unit or void your warranty.
Frequently asked questions
Why do I need a manual upgrade for my Victron CCGX to v2?
Firmware upgrade from v1.74 to newer versions requires a one-time manual upgrade. Once this is done, updates can be installed normally again.
What do I need to perform the CCGX firmware upgrade?
You need a microSD card formatted to FAT or FAT32, preferably 32GB or smaller, and the `venus-upgrade-image-ccgx.zip` file.
What if my CCGX shows a blue screen during the upgrade?
This often indicates an issue with the microSD card formatting (ensure FAT/FAT32), incomplete files, or a faulty SD card/slot. Check the card and its contents.
Will the firmware upgrade affect my CCGX settings or connected devices?
No, all settings in the CCGX and connected devices (Multis, BMV, Solar Charger) will not be affected by the upgrade.
What should I do after the CCGX firmware upgrade?
Double-check your WiFi and/or Ethernet passwords and IP configuration. Then, follow the normal version 2.x firmware update instructions for the latest version.
References
- Victron Energy CCGX Firmware Upgrade to v2 — accessed 23 August 2026
Related guides
More from inverter errors & fixes.