How to Connect Multiple Sunsynk Inverters and Users to Sunsynk Connect
Updated 17 September 2026 · By SolarNevs Research Desk, Dealer surveys + verified sources · 10 sources · Method ↗
Key Takeaways
- Each Sunsynk inverter requires its own dedicated Data Logger to connect to Sunsynk Connect.
- When setting up a multi-inverter system, the plant must be created using the Master inverter first.
- User permissions in Sunsynk Connect dictate who can view data, change settings, or transfer ownership.
- Transferring plant ownership is critical when a solar system changes hands, and only the original owner can initiate it.
Connecting Multiple Sunsynk Inverters to a Single Plant
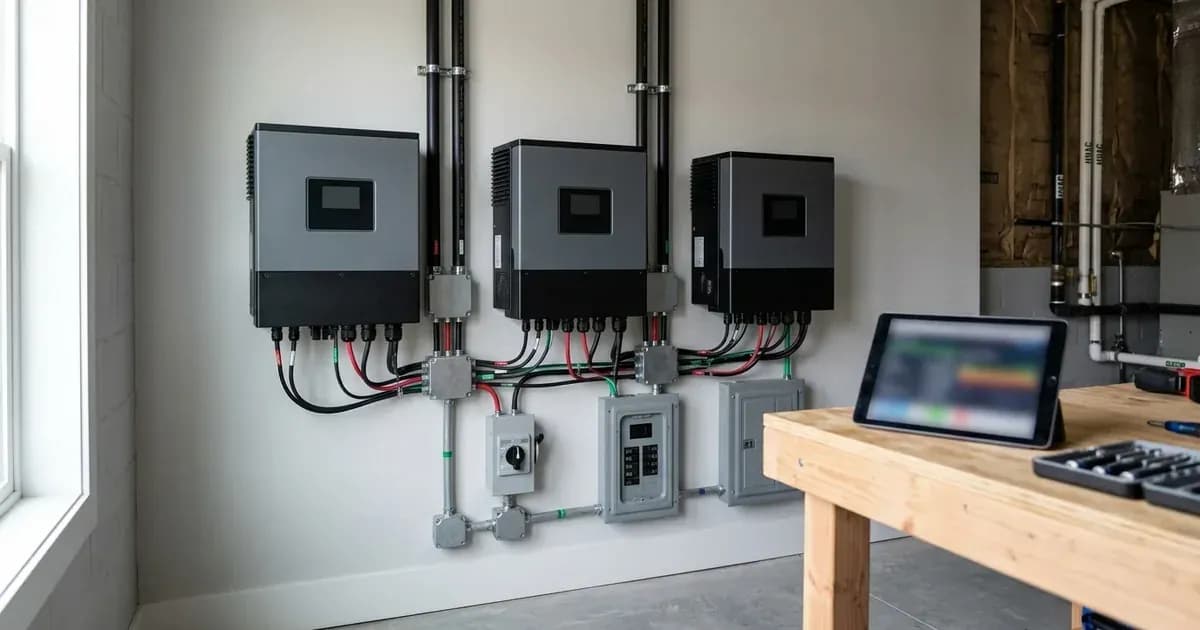
Sunsynk Connect allows you to monitor and manage multiple inverters as a single "plant" through its web portal or mobile application. This is useful for larger installations or when you have expanded your system. To achieve this, each inverter must have its own dedicated Data Logger, and all dataloggers must be connected to Wi-Fi.
For information on the physical wiring and setup of paralleled inverters, refer to our guide on /za/guides/fixes/paralleling-sunsynk-inverters. This article focuses on the Sunsynk Connect account and plant configuration layer.
What is actually going on
Sunsynk Connect is a remote monitoring and management platform that enables communication between your Sunsynk inverters and the Sunsynk Connect Cloud. Each inverter communicates with the cloud via its own Data Logger, which acts as a gateway. When you have multiple inverters working together, they form a single "plant" in the system. The platform aggregates data from all connected inverters, providing a unified view of your system's performance, including generation, consumption, and battery status.
To ensure proper data aggregation and control, the system designates one inverter as the "Master" and others as "Slaves" in a parallel setup. When setting up your plant in Sunsynk Connect, you must first create the plant using the Master inverter's datalogger. Subsequent inverters are then added as additional gateways to this existing plant.
Adding Additional Inverters to a Plant
Before you begin, ensure that each inverter has its dedicated Data Logger installed and connected to your Wi-Fi network.
Desktop Web Portal (www.sunsynk.net)
- Create the Plant: First, create the plant in Sunsynk Connect using the Data Logger of your Master inverter.
- Navigate to Plant List: After the initial plant creation, log in to
www.sunsynk.netand navigate to your "Plant List". - Select Plant: Locate the plant you just created.
- Add Gateway: Under the "More" column, click on the three dots.
- Enter Datalogger Details: Select "Add Gateway". A pop-up window will appear where you need to enter the Data Logger serial number and key for each additional inverter you wish to add to this plant.
Mobile App (Sunsynk Connect)
- Create the Plant: As with the desktop method, first create the plant using the Data Logger of your Master inverter.
- Go to Plants: On the app's home screen, tap the "Plants" option located at the bottom left of the screen.
- Select Plant: Tap on the specific plant you want to add inverters to.
- Access Equipment: Tap "Equipment" at the bottom of the screen.
- Add Gateway: Tap "Gateway" at the top, then tap the '+' sign.
- Scan or Manual Input: You can either scan the QR code on the new inverter's Data Logger or use the "Manual Input" option to enter its serial number and key.
Managing Multiple Users and Plant Ownership
Sunsynk Connect allows different levels of access for various users, which is crucial for installers, homeowners, and tenants. User permissions determine what actions can be performed on a plant.
User Roles and Permissions
Role/Permission | Description | What you can do |
|---|---|---|
Owner (Creator) | The user who initially created the plant. | Full control: view data, change settings, share the plant, transfer ownership. |
Manager | Granted by the owner. | View data, change settings (if "Allow Remote Access" is enabled on inverter). |
Visitor | Granted by the owner or manager. | View data only. Cannot change settings. |
Installer User Level Access | For administrative accounts. | Create plants, add gateways, share plants, delete inverters, perform firmware upgrades, view operational data. |
Sharing a Plant with a Customer
If you are an installer or the plant owner and wish to grant access to another user (e.g., the homeowner), you can share the plant:
- Log in: Access the Sunsynk Connect portal at
www.sunsynk.net. - Plant List: Click on "Plant List" under the "My Plants" tab.
- Search Plant: Locate the plant you wish to share.
- Share Option: In the far-right column under "More", click the three white dots and select "Share".
- Add Account: Click "Add Account", enter the customer's email address, select their desired role (e.g., Manager or Visitor), and click "Confirm".
Transferring Plant Ownership (Crucial for South Africa)
In South Africa, properties and their solar installations often change hands. The original installer or homeowner might still be listed as the plant owner in Sunsynk Connect. Transferring ownership is vital to ensure the new owner has full control and access to their system.
Only the plant owner (creator) can transfer ownership. If you are unable to share a plant or do not see the option to transfer ownership, it is likely because you only have visitor or manager permissions. In such cases, you must reach out to the individual who originally set up the plant and request that they transfer ownership to your account.
Transferring Multiple Plants to a Master Company Account
For installers managing numerous client installations, Sunsynk Connect allows for the consolidation of plants under a master company account.
- Create Master Company Account: First, create a company within your profile that you intend to use as your master company account.
- Transfer Plants: Installers can then transfer individual client plants to this master account.
- Add Installer Accounts: You can then add other installer accounts to your company, granting them appropriate access.
Adding Customers to an Administration Account
The "Customer" feature within the Sunsynk.net portal is designed for administrative purposes, allowing installers to manage their customers' access. This requires "Installer User Level Access". You can create "Customer Types" with defined portal features, such as the ability to create plants, add gateways, share plants, delete inverters, perform firmware upgrades, and view operational data. Customers can then be added by email or username and assigned a specific "Customer Type".
What you can change yourself, and what you cannot
As a homeowner or system owner, you can typically manage settings related to your energy usage, such as charge/discharge times, battery State of Charge (SOC) targets, and work modes, provided you have "Manager" or "Owner" permissions.
However, certain critical settings, particularly those related to grid protection and export, are typically the domain of a registered person (e.g., a qualified electrician or solar installer). Changing these settings without proper authorisation can violate your connection agreement with Eskom or your municipality and may invalidate your Certificate of Compliance (CoC).
To allow remote changes via Sunsynk Connect, ensure that "Allow Remote Access" is enabled on your inverter display. You can find this setting under Settings -> Basic -> Remote -> Allow Remote Access. If this setting is disabled, even a plant manager will not be able to adjust inverter parameters remotely.
What the published sources do not tell you
While the Sunsynk Connect documentation is comprehensive, some details are not explicitly covered. For instance, the specific server addresses for regions outside the UK are not detailed. The documentation mentions ukiot.sunsynk.net:51100 for UK users and iot.e-linter.com:51100 generally, but does not specify a distinct server address for South African users. This means the system likely routes through global servers, or the iot.e-linter.com address serves multiple regions.
Additionally, the documentation does not provide a comprehensive list of all possible user roles and their exact permissions beyond "owner," "manager," and "visitor," or the specific features available under "Installer User Level Access." This can sometimes lead to uncertainty about what actions different users can perform.
Finally, while the process for adding inverters and users is clear, the documentation does not detail how to manage or troubleshoot potential conflicts if two dataloggers accidentally try to register the same inverter, or if a datalogger is bound to an incorrect plant. Such scenarios may require direct support from Sunsynk.
Frequently asked questions
Can I connect multiple Sunsynk inverters to a single plant in Sunsynk Connect?
Yes, you can connect multiple Sunsynk inverters to a single plant. Each inverter requires its own dedicated Data Logger, and all dataloggers must be connected to Wi-Fi. The plant must be created using the Master inverter first.
How do I add another inverter to an existing plant in Sunsynk Connect?
After creating the plant with the Master inverter, navigate to the Plant List on Sunsynk.net or the Plants option in the mobile app. Select the plant, then choose 'Add Gateway' (desktop) or tap the '+' sign under 'Gateway' (mobile) to enter the new inverter's Data Logger serial number and key.
What is the difference between user roles in Sunsynk Connect?
User roles determine what you can do. If you have visitor rights, you cannot change inverter settings remotely. Only the plant owner (creator) can share a plant or transfer its ownership. To change settings, you need manager or owner permissions.
What happens if I unbind a datalogger from Sunsynk Connect?
Unbinding a datalogger will result in the loss of the plant's data history. This action should be performed carefully, typically when replacing a faulty datalogger or transferring a system.
How do I transfer ownership of a Sunsynk Connect plant?
Only the plant owner (creator) can transfer ownership. If you are not the owner, you must contact the individual who set up the plant and request they transfer ownership to your account. This is crucial when systems change hands.
References
- Sunsynk Support: Connecting to the internet — accessed 27 August 2026
- Sunsynk Support: Adding multiple inverters to the same plant — accessed 27 August 2026
- Sunsynk Support: Remote monitoring with Sunsynk Connect — accessed 27 August 2026
- Sunsynk Support: Unable to change settings remotely — accessed 27 August 2026
- Sunsynk Support: Unable to share or transfer plant — accessed 27 August 2026
- Sunsynk Support: How to unbind a datalogger via Sunsynk.net — accessed 27 August 2026
- Sunsynk Support: How to unbind a datalogger via Sunsynk Connect — accessed 27 August 2026
- Sunsynk Support: How to transfer multiple plants to a master company account — accessed 27 August 2026
- Sunsynk Support: Adding customer to administration account — accessed 27 August 2026
- Sunsynk Support: Sharing a plant with a customer — accessed 27 August 2026
Related guides
More from sizing, net billing & installation.