Knox Inverter Overload Fault: Diagnosis and Fixes
Updated 6 September 2026 · By SolarNevs Research Desk, Dealer surveys + verified sources · 1 source · Method ↗
Key Takeaways
- The most common cause of a Knox inverter overload is excessive load connected to the unit.
- Always check the inverter's display for specific fault codes like F20, F21, or F52 as your first diagnostic step.
- Before inspecting any connections, always disconnect all AC, DC, and battery power sources to prevent electric shock.
- If faults persist after basic troubleshooting or if you suspect internal damage, stop DIY efforts and contact a qualified technician.
Why is my Knox Inverter showing an overload fault or shutting down?
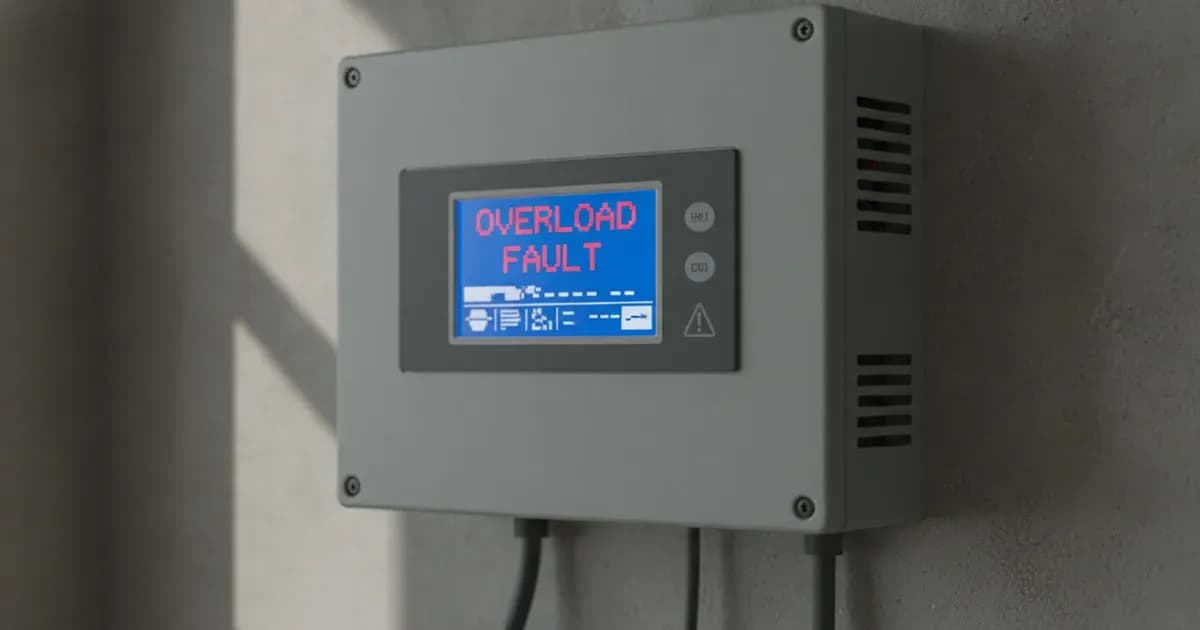
Your Knox hybrid inverter may display an overload fault or shut down if the connected electrical load exceeds its rated capacity. This is a protective measure to prevent damage to the inverter and connected appliances. The most common causes are too many devices running simultaneously or high startup currents from certain appliances.
Knox inverters are rebadged Deye units, specifically from the Deye SUN-3.6K-SG03LP1-EU, SUN-5K-SG03LP1-EU, and SUN-6K-SG03LP1-EU series. These inverters feature overload protection as a standard function. Menu/program numbering can differ by model and firmware on rebadged units. Readers must match settings by NAME rather than number.
Diagnosis
Follow these steps to diagnose an overload fault on your Knox inverter. Remember that menu and program numbering can differ by model and firmware on rebadged units, so always match settings by name rather than number.
- Check the Inverter Display for Fault Codes:
- Observation: Look at the inverter's LCD screen for any displayed fault codes.
- Meaning: Specific codes like F20, F21, or F52 directly indicate an overcurrent condition. A general "Overload protection triggered" message may also appear. Menu/program numbering can differ by model and firmware on rebadged units. Readers must match settings by NAME rather than number.
- Action: Note down the exact fault code for reference.
- Identify Connected Loads:
- Observation: List all appliances and devices currently connected to the inverter's output.
- Meaning: Compare the total wattage of these devices to your inverter's rated AC output power. For example, a Deye SUN-5K-SG03LP1-EU model has a Rated AC Output and UPS Power of 5000W and a Max. AC Output Power of 5500W. Menu/program numbering can differ by model and firmware on rebadged units. Readers must match settings by NAME rather number.
- Action: Disconnect non-essential loads to reduce the total power demand.
- Check for High Startup Currents:
- Observation: Note if the overload fault occurs when a specific appliance, such as an air conditioner or motor, is turned on or restarts.
- Meaning: Appliances such as air conditioner require 2-3 minutes to restart; if power shortage occurs and recovers quickly, it can damage appliances and trigger overload fault. Menu/program numbering can differ by model and firmware on rebadged units. Readers must match settings by NAME rather than number.
- Action: Try starting high-current appliances one at a time, with a delay between them.
- Inspect PV Module and Battery Connections (for F21 DC Over Current):
- Observation: Visually inspect the PV module connections and battery connections at the inverter.
- Meaning: Loose, corroded, or incorrect connections can lead to DC over current faults. Menu/program numbering can differ by model and firmware on rebadged units. Readers must match settings by NAME rather than number.
- Action: Ensure all connections are secure and correctly polarized. Before touching any connections, disconnect all wires (PV, battery, AC grid, and load) and wait for the inverter to fully discharge. If internal inspection is suspected to be necessary, note that attempting to modify/alter/repair the inverter yourself can void the warranty. Contact a qualified technician.
- Verify Backup Load Power (for F20 AC Over Current or F52 AC Overcurrent fault):
- Observation: Confirm that the total power of the backup loads connected to the inverter is within its specified range.
- Meaning: Exceeding the inverter's maximum AC current or power rating for the backup load port will trigger these faults. For instance, the Deye SUN-5K-SG03LP1-EU model has a Max. AC Current of 21.7A. Menu/program numbering can differ by model and firmware on rebadged units. Readers must match settings by NAME rather than number.
- Action: Reduce the backup load power if it exceeds the inverter's capacity.
Cause/fix table
Symptom detail | Likely cause | Fix |
|---|---|---|
Inverter reports F20 (AC over current fault of hardware) | Backup load power or common load power exceeds the inverter's range. | Check whether the backup load power and common load power are within the inverter's specified range. Restart the inverter. Menu/program numbering can differ by model and firmware on rebadged units. Readers must match settings by NAME rather than number. |
Inverter reports F21 (DC over current fault of the hardware) | PV module or battery connection issues; large power load on off-grid startup. | Check PV module and battery connections. When in the off-grid mode the inverter startup with big power load it may report F21. Please reduce the load power connected. Before any physical intervention, including checking connections or operating switches for a restart, disconnect all wires (PV, battery, AC grid, and load) and ensure the inverter has fully discharged. If the fault persists or internal issues are suspected, attempting to modify/alter/repair the inverter yourself can void the warranty. Contact a qualified technician. Disconnect all wires (PV, battery, AC grid, and load), wait one minute, then reconnect them. Menu/program numbering can differ by model and firmware on rebadged units. Readers must match settings by NAME rather than number. |
Inverter reports F52 (AC Overcurrent fault) | Connected backup load exceeds the allowed power range. | Check the backup load connected to ensure it is within the allowed power range for your inverter model. Menu/program numbering can differ by model and firmware on rebadged units. Readers must match settings by NAME rather than number. |
Overload protection triggered (general) | Appliances with high startup current (e.g., air conditioners) restarting quickly after a power shortage. | Allow high-current appliances to restart sequentially. Avoid connecting too many high-power devices simultaneously. Menu/program numbering can differ by model and firmware on rebadged units. Readers must match settings by NAME rather than number. |
No output (general) | Inverter stops working due to a detected fault, including overload. | Follow specific fault code troubleshooting. Reduce load. Restart the inverter after ensuring conditions are safe. Menu/program numbering can differ by model and firmware on rebadged units. Readers must match settings by NAME rather than number. |
Troubleshooting Overload Conditions
Knox hybrid inverters are designed to manage power flow from multiple sources and supply critical loads. When an overload occurs, the inverter's internal protection mechanisms activate to prevent damage.
Understanding Overload Protection: The inverter continuously monitors the current drawn by connected loads. If this current exceeds a safe threshold, the inverter will trigger an overload fault. This can be due to:
- Continuous Overload: The total running wattage of all connected devices consistently exceeds the inverter's rated AC output power.
- Surge Overload: Certain appliances (like refrigerators, pumps, or air conditioners) draw a much higher current for a brief moment when they start up. If multiple such devices start simultaneously, or if a single large device's surge current exceeds the inverter's surge capacity, an overload fault can occur.
General Troubleshooting Steps:
- Reduce Connected Load: The most direct fix for an overload is to reduce the electrical load. Disconnect non-essential appliances from the inverter's output. Menu/program numbering can differ by model and firmware on rebadged units. Readers must match settings by NAME rather than number.
- Restart the Inverter: After reducing the load, try restarting the inverter. For an F20 fault, the manual suggests restarting and checking if it returns to normal. Before any physical intervention, including checking connections or operating switches for a restart, disconnect all wires (PV, battery, AC grid, and load) and ensure the inverter has fully discharged. If the fault persists or internal issues are suspected, attempting to modify/alter/repair the inverter yourself can void the warranty. Contact a qualified technician. For an F21 fault, disconnect all wires (PV, battery, AC grid, and load), wait one minute, then reconnect them. Menu/program numbering can differ by model and firmware on rebadged units. Readers must match settings by NAME rather than number.
- Check Wiring and Connections: Before checking any wiring or connections, disconnect all wires (PV, battery, AC grid, and load) and ensure the inverter has fully discharged. If the fault persists or internal issues are suspected, attempting to modify/alter/repair the inverter yourself can void the warranty. Contact a qualified technician. Ensure all AC output wiring, PV module connections, and battery connections are secure and correctly sized for the current they carry. Loose connections can create resistance and heat, contributing to perceived overcurrent conditions. Menu/program numbering can differ by model and firmware on rebadged units. Readers must match settings by NAME rather than number.
- Monitor Appliance Behavior: Pay attention to which appliances are running when the overload occurs. This can help identify a specific problematic device or a combination of devices that collectively exceed the inverter's capacity. Menu/program numbering can differ by model and firmware on rebadged units. Readers must match settings by NAME rather than number.
Important Note on Settings: Knox inverters are rebadged Deye units. The manual explicitly states that menu and program numbering can differ by model and firmware. Always match settings by NAME rather than number when configuring your inverter.
Safety
Working with solar inverters and electrical systems carries significant risks. Always prioritize safety.
- Qualified Personnel Only: Only qualified personnel can install this device with battery. Menu/program numbering can differ by model and firmware on rebadged units. Readers must match settings by NAME rather than number.
- Disconnect All Power: To reduce risk of electric shock, disconnect all wires before attempting any maintenance or cleaning. Turning off the unit will not reduce this risk. Menu/program numbering can differ by model and firmware on rebadged units. Readers must match settings by NAME rather than number.
- No Disassembly: Do not disassemble the inverter. If maintenance/repair is needed, take it to a professional service center. Improper reassembly may result in electric shock or fire. Menu/program numbering can differ by model and firmware on rebadged units. Readers must match settings by NAME rather than number.
- Insulated Tools: Be very cautious when working with metal tools on or around batteries. Dropping a tool may cause a spark or short circuit, even an explosion. Use insulated tools. Menu/program numbering can differ by model and firmware on rebadged units. Readers must match settings by NAME rather than number.
- Correct Polarity: Before final DC connection, ensure positive (+) connects to positive (+) and negative (-) to negative (-). Reverse polarity connection will damage the inverter. Menu/program numbering can differ by model and firmware on rebadged units. Readers must match settings by NAME rather than number.
- Grounding: This inverter should be connected to a permanent grounded wiring system. Comply with local requirements and regulation. The ground cable shall be connected to ground plate on grid side; this prevents electric shock if the original protective conductor fails. Menu/program numbering can differ by model and firmware on rebadged units. Readers must match settings by NAME rather than number.
- Breakers: Install a separate AC breaker between inverter and grid, and between backup load and inverter. Install a separately DC circuit breaker between inverter and PV modules. Ensure breakers are certified according to IEC 60947-1 and IEC 60947-2. Menu/program numbering can differ by model and firmware on rebadged units. Readers must match settings by NAME rather than number.
When to call a technician instead
While basic troubleshooting can resolve many overload issues, there are situations where you should call a qualified technician:
- Persistent Faults: If the overload fault (F20, F21, F52, or general overload) persists after you have reduced the load and performed basic restarts. Menu/program numbering can differ by model and firmware on rebadged units. Readers must match settings by NAME rather than number.
- Unidentified Cause: If you cannot identify the cause of the overload, or if the fault occurs without apparent excessive load. Menu/program numbering can differ by model and firmware on rebadged units. Readers must match settings by NAME rather than number.
- Internal Damage Suspected: If you notice any unusual smells, sounds, or physical damage to the inverter. Menu/program numbering can differ by model and firmware on rebadged units. Readers must match settings by NAME rather than number.
- Complex Wiring Issues: If you suspect issues with PV module connections, battery wiring, or AC wiring that require specialized tools or expertise. Menu/program numbering can differ by model and firmware on rebadged units. Readers must match settings by NAME rather than number.
- Warranty Concerns: Attempting to modify/alter/repair the inverter yourself can void the warranty. Incorrect installation/commissioning or failure to comply with instructions are also exclusions. The warranty duration is 5 years. Menu/program numbering can differ by model and firmware on rebadged units. Readers must match settings by NAME rather than number.
- Safety Risks: If you are uncomfortable or unsure about any step of the diagnostic or repair process, do not proceed. Electrical systems can be dangerous. Menu/program numbering can differ by model and firmware on rebadged units. Readers must match settings by NAME rather than number.
Still showing the fault? Book a technician
If the steps above did not clear it, tell us the inverter or battery and the exact code. We pass it to a technician who covers your city; visit charges are quoted before they come.
How this pays for the site: the technician or verifier pays SolarNevs a fixed introduction fee. Nobody pays to be recommended, and you are free to use our free guides instead.
Frequently asked questions
What does an F20 error mean on a Knox inverter?
An F20 error on a Knox inverter indicates an AC over current fault of the hardware. This typically means the backup load power or common load power connected to the inverter exceeds its rated capacity. Menu/program numbering can differ by model and firmware on rebadged units. Readers must match settings by NAME rather than number.
How do I fix an F21 DC over current fault on my Knox inverter?
Before any physical intervention, including checking connections or operating switches for a restart, disconnect all wires (PV, battery, AC grid, and load) and ensure the inverter has fully discharged. If the fault persists or internal issues are suspected, attempting to modify/alter/repair the inverter yourself can void the warranty. Contact a qualified technician. To fix an F21 DC over current fault, first check your PV module and battery connections. If the inverter is in off-grid mode and starts with a large power load, it may report F21; please reduce the load power connected. Then, disconnect all wires (PV, battery, AC grid, and load), wait one minute, and reconnect them. Menu/program numbering can differ by model and firmware on rebadged units. Readers must match settings by NAME rather than number.
What causes a general overload protection trigger on a Knox inverter?
General overload protection can be triggered by appliances, such as air conditioners, that require 2-3 minutes to restart. If a power shortage occurs and recovers quickly, the rapid restart of these appliances can cause a temporary surge, leading to an overload fault. Menu/program numbering can differ by model and firmware on rebadged units. Readers must match settings by NAME rather than number.
What should I do if my Knox inverter displays F52?
If your Knox inverter displays an F52 AC Overcurrent fault, check the connected backup load to ensure it is within the allowed power range for your inverter model. If the fault persists after verifying the load, contact a technician. Menu/program numbering can differ by model and firmware on rebadged units. Readers must match settings by NAME rather than number.
What is the maximum AC output power for a Knox 5KW model inverter?
The Knox 5KW model inverter, which is a rebadged Deye SUN-5K-SG03LP1-EU, has a maximum AC output power of 5500W. Menu/program numbering can differ by model and firmware on rebadged units. Readers must match settings by NAME rather than number.
References
- Deye SUN-3.6_6K_SG03LP1_EU Manual Ver2.2 — accessed 23 August 2026
Related guides
More from inverter errors & fixes.