SolarMax Inverter Overload Fault (Code 07) Fix
Updated 7 September 2026 · By SolarNevs Research Desk, Dealer surveys + verified sources · 1 source · Method ↗
Key Takeaways
- The most common cause of a SolarMax overload is exceeding the inverter's power capacity.
- The first check is to immediately reduce the connected electrical load.
- Never ignore continuous beeping and a red LED; it indicates a critical fault.
- Stop DIY troubleshooting if the issue persists after reducing load or if internal components are suspected.
Why is my SolarMax inverter showing an overload fault (Code 07)?
Your SolarMax inverter displays fault code 07 because it has detected an "Overload time out". This means the inverter has been subjected to an overload error where it is overloaded 110% and the time limit for this condition is up.
Diagnosis
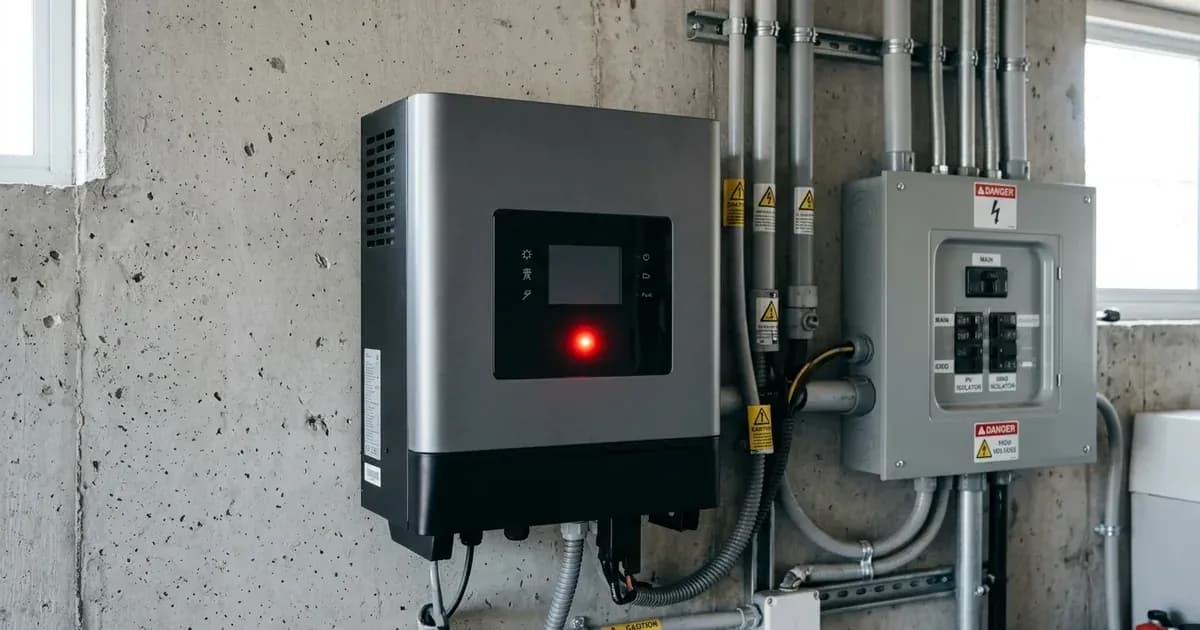
When your SolarMax inverter shows fault code 07, accompanied by a continuous beeping sound and a red LED, it indicates an overload condition. The inverter is designed to protect itself by shutting down or derating output when this occurs.
- Check the inverter's display for fault code 07.
- If Code 07 is present: The inverter has detected an overload.
- If a different code is present: Refer to the manual for that specific fault.
- Listen for audible alarms.
- If the inverter beeps continuously (once every 0.5 second): This confirms an active overload warning.
- If there is no alarm or a different alarm pattern: The issue might be a different fault or a transient condition.
- Identify connected loads.
- If high-power appliances are running: These are likely contributing to the overload.
- If only essential loads are connected: The inverter's capacity might be insufficient for your normal operation, or there's an underlying issue.
- Review your inverter's rated output power.
- For a 1.5KW model: Rated output is 1.5KVA/1.5KW.
- For a 3KW model: Rated output is 3KVA/3KW.
- For a 5KW model: Rated output is 5KVA/5KW.
- Compare this to the total wattage of your connected appliances.
- Check PV input voltage.
- If the PV input voltage is higher than specification: The inverter's output power may be derated. This means its effective capacity is temporarily reduced, making it more susceptible to overload from normal loads.
- If PV voltage is within specification: PV derating is not the cause of the overload.
Cause/fix table section
Symptom detail | Likely cause |
|---|---|
Inverter displays fault code 07, beeps continuously, and shows a red LED. | The inverter is overloaded 110% and the time limit for this condition is up. Reduce the connected load by switching off some equipment. |
Inverter displays fault code 07, beeps continuously, and shows a red LED, especially when PV input is high. | If PV input voltage is higher than specification, the output power will be derated. At this time, if connected loads is higher than derated output power, it will cause overload. Reduce the number of PV modules in series or the connected load. |
Key Troubleshooting Steps
1. Reduce the Connected Load Immediately
The most direct cause of an overload is too much demand on the inverter.
- Action: Turn off non-essential appliances connected to the inverter. Start with high-power devices like air conditioners, water pumps, electric heaters, or irons.
- Observation: Check if the fault clears after reducing the load. The inverter should restart automatically if the overload is resolved.
2. Check for Output Short Circuit
An output short circuit can mimic an overload or cause an immediate shutdown.
- Action: Before any physical inspection, ensure ALL AC, DC, and PV power sources are disconnected and the inverter's internal capacitors have discharged. AC wiring inspection must be performed by qualified personnel. Inspect wiring for any signs of damage, frayed insulation, or loose connections that could cause a short. Refer to the 'Safety: Working with Inverters and Electrical Systems' section for full safety protocols and warranty information.
- Observation: If the fault clears with no loads connected, reconnect them one by one to identify the faulty appliance or circuit. If fault code 05 (Output short circuited) appears, this is a different issue.
3. Verify Inverter Capacity vs. Load Demand
Ensure your inverter is appropriately sized for your typical load.
- Action: List all appliances you typically run simultaneously and sum their wattages. Compare this total to your SolarMax inverter's rated output power.
- 1.5KW model: Rated output power is 1.5KVA/1.5KW.
- 3KW model: Rated output power is 3KVA/3KW.
- 5KW model: Rated output power is 5KVA/5KW.
- Compare this to the total wattage of your connected appliances.
- Observation: If your total load consistently exceeds the inverter's rated capacity, you will frequently experience overload faults. Consider upgrading your inverter or managing your loads more carefully.
4. Check PV Input Voltage for Derating
High PV input voltage can cause the inverter to reduce its output capacity.
- Action: Check the PV input voltage displayed on the inverter's LCD or via monitoring software. Compare it against the "Max. PV Array Open Circuit Voltage" for your model:
- 1.5KW model: Max. PV Array Open Circuit Voltage is 400Vdc.
- 3KW model: Max. PV Array Open Circuit Voltage is 500Vdc.
- 5KW model: Max. PV Array Open Circuit Voltage is 500Vdc.
- Observation: If the PV input voltage is higher than the specification, the inverter's output power will be derated. If your connected loads then exceed this derated power, it will cause an overload. If the PV input voltage is consistently high, you may need to reduce the number of PV modules in series. This is a physical modification to the PV array wiring and must only be performed by qualified personnel after ensuring ALL AC, DC, and PV power sources are disconnected and the inverter's internal capacitors have discharged. Refer to the 'Safety: Working with Inverters and Electrical Systems' section for full safety protocols and warranty information.
5. Inspect Wiring and Connections
Loose or corroded connections can cause resistance, leading to voltage drops and increased current, which can trigger an overload.
- Action: Before proceeding, ensure ALL AC, DC, and PV power sources are disconnected and the inverter's internal capacitors have discharged. Inspection and tightening of AC output wiring must be performed by qualified personnel. Inspect all AC output wiring for tightness and corrosion. If corrosion is present, clean the terminals. WARNING: Be very cautious when working with metal tools on or around batteries to avoid sparks, short circuits, or explosions. A spanner across a battery bank can short hundreds of amps, causing severe burns or explosions. Refer to the 'Safety: Working with Inverters and Electrical Systems' section for full safety protocols and warranty information, as attempting repairs yourself may void your warranty.
- Observation: Tighten any loose connections. If corrosion is present, clean the terminals. WARNING: Be very cautious when working with metal tools on or around batteries to avoid sparks, short circuits, or explosions. A spanner across a battery bank can short hundreds of amps, causing severe burns or explosions.
6. Consider Appliance Startup Surges
Some appliances, especially those with motors (refrigerators, air conditioners), draw a much higher current at startup than during normal operation. This surge can momentarily exceed the inverter's capacity.
- Action: If the overload occurs only when a specific appliance starts, try to start it alone or ensure other high-draw appliances are off. Note that appliances like air conditioners require 2~3 minutes to restart after a power interruption; rapid restarts can damage them.
- Observation: If the fault is linked to startup surges, you may need to manage your load sequencing or consider a soft-start device for the appliance.
Safety: Working with Inverters and Electrical Systems
Always prioritize safety when troubleshooting your SolarMax inverter.
- Disconnect Power: Before performing any maintenance or checking wiring, disconnect all power sources: AC input, PV input, and battery supply. Turning off the unit does not reduce the risk of electric shock.
- Qualified Personnel: Only qualified personnel should install or service this device. Do not disassemble the unit yourself; incorrect re-assembly risks electric shock or fire.
- Insulated Tools: Use insulated tools when working with batteries or electrical connections to prevent short circuits. A spanner across a battery bank can short hundreds of amps, causing severe burns or explosions.
- Grounding: Ensure your inverter/charger is connected to a permanent grounded wiring system, complying with local requirements and regulations.
- Breakers: Ensure appropriate AC input breakers are installed: 16A for 1.5KW models, 32A for 3KW models, and 50A for 5KW models. Install a separate DC circuit breaker between the inverter and PV modules.
When to call a technician instead
If you have followed these steps and the overload fault persists, or if you suspect an internal component failure, it is time to call a qualified technician.
- Persistent Fault: If the inverter continues to trip on overload even after reducing loads and verifying connections, there might be an internal issue.
- Internal Component Failure: Fault codes like 08, 09, 53, or 57 indicate internal component failures and require professional repair.
- Warranty Concerns: Attempting to open or repair the unit yourself can void your warranty. The manufacturer's manual explicitly states, "Do not disassemble the unit; take it to a qualified service center."
- Uncertainty: If you are unsure about any troubleshooting step or electrical procedure, do not proceed. Electrical systems can be dangerous.
Remember, the menu/program numbering on SolarMax inverters (Voltronic Axpert VM III platform) can differ by model and firmware. Always match settings by NAME rather than by number.
Still showing the fault? Book a technician
If the steps above did not clear it, tell us the inverter or battery and the exact code. We pass it to a technician who covers your city; visit charges are quoted before they come.
How this pays for the site: the technician or verifier pays SolarNevs a fixed introduction fee. Nobody pays to be recommended, and you are free to use our free guides instead.
Frequently asked questions
What does SolarMax fault code 07 mean?
Fault code 07 on a SolarMax inverter indicates an 'Overload time out'. This means the inverter has been subjected to an overload error where it is overloaded 110% and the time limit for this condition is up.
Why does my SolarMax inverter beep continuously?
A SolarMax inverter that beeps continuously with a red LED and displays fault code 07 is indicating an overload error. This requires immediate attention to prevent damage.
How do I fix a SolarMax inverter overload?
To fix a SolarMax inverter overload, immediately reduce the connected load by switching off some equipment. You should also check if a high PV input voltage is causing the inverter's output power to derate, which can lead to overload.
Can high PV voltage cause an overload on a SolarMax inverter?
Yes, if the PV input voltage is higher than specification, the inverter's output power will be derated. At this time, if connected loads is higher than derated output power, it will cause overload.
What is the overload threshold for SolarMax inverters?
The SolarMax inverter triggers an overload error when the connected load exceeds 110% of its rated capacity and the predefined time limit for this overload is reached.
References
- User Manual — accessed 23 August 2026
Related guides
More from inverter errors & fixes.