Victron Cerbo GX & Venus OS VRM Troubleshooting Guide
Updated 8 September 2026 · By SolarNevs Research Desk, Dealer surveys + verified sources · 4 sources · Method ↗
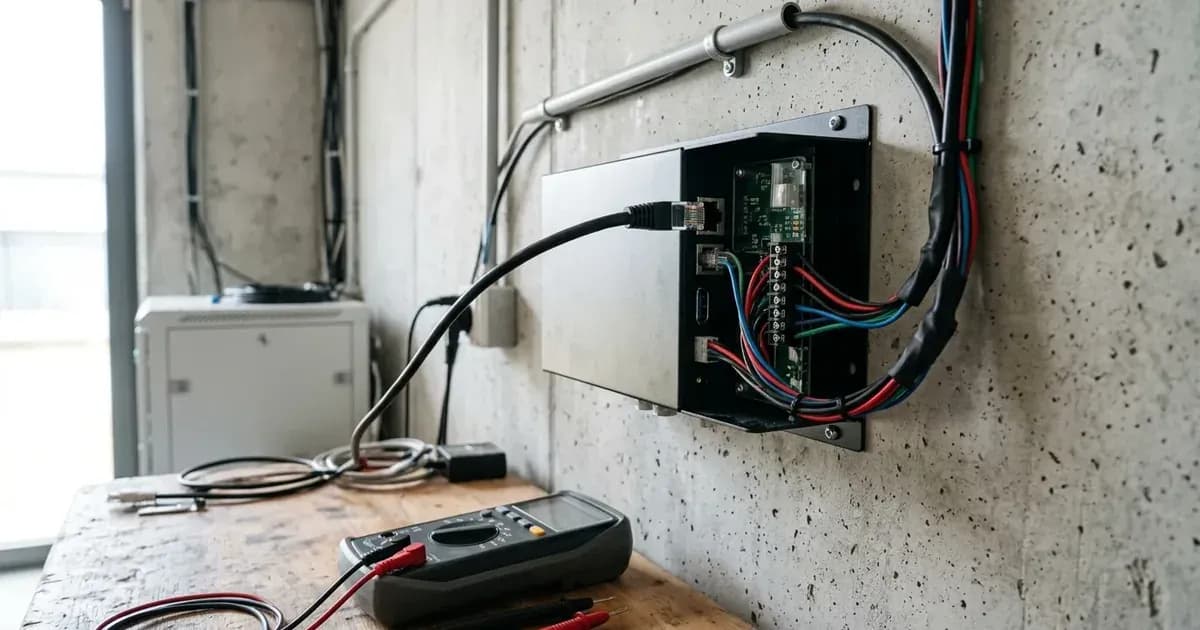
Victron Energy's VRM (Victron Remote Management) portal provides essential monitoring and remote control capabilities for your solar energy system. When your GX device—such as a Cerbo GX, Color Control GX, or Ekrano GX—experiences connectivity issues, it can impact your ability to monitor performance, update firmware, or adjust settings remotely.
This guide outlines common VRM connectivity problems, how to resolve them, and how to use advanced diagnostic tools for your Victron GX device running Venus OS.
Prerequisites for VRM Connectivity
For your GX device to connect to the VRM portal, it must have an active internet connection.
- Internet Connection: Connect your GX device to the internet using an Ethernet cable or a compatible WiFi module.
- VRM Portal Access: Once connected, you can access your system's data and controls via the Victron VRM portal.
Troubleshooting Common VRM Connectivity Errors
Error Message / Status | Root Cause | Resolution Procedure |
|---|---|---|
Data from unauthenticated device | Out-of-sync authentication token after reset or re-imaging | Re-add device to VRM portal or verify registered VRM ID |
No matching schedule available | Inactive Dynamic ESS schedule or incorrect GX system clock | Verify system date/time and configure valid active schedule |
ESS functionality not available | Dynamic ESS activated in past but currently inactive | Ignore if unused, or re-enable Dynamic ESS in settings |
Error Codes #153 / #154 | Outbound firewall block or network drop (ports 443, 8883, 80) | Ensure unrestricted outbound internet traffic on LAN/Wi-Fi |
Several error messages can indicate issues with your GX device's connection to the VRM portal or its ability to report data.
"Data from unauthenticated device has been received"
This error typically occurs when the authentication tokens between your GX device and the VRM backend are out of sync. This can happen after a factory reset or re-imaging of the GX device.
Resolution: Re-add the device to your VRM portal or ensure the VRM ID on the device matches the one registered on the portal.
Dynamic ESS Error Codes
These errors relate to the Dynamic ESS functionality and can sometimes be linked to system clock issues or configuration.
- "Dynamic ESS error code: No matching schedule available": This indicates that the system either does not have a valid schedule configured for the current timeframe or the system clock on your GX device is incorrect.
- Resolution: Verify your GX device's time and date settings and ensure your Dynamic ESS schedules are correctly configured and active.
- "Dynamic ESS error code: ESS functionality not available": This error suggests that Dynamic ESS was previously activated on your system but is no longer in use or configured.
- Resolution: If Dynamic ESS is no longer required, you can ignore this message. If it should be active, re-enable and configure it as needed.
Undocumented VRM Connectivity Issues
Some specific error codes and network requirements are not detailed in the available documentation.
- Error Codes #153 and #154: Specific troubleshooting steps for VRM Connectivity Error codes #153 and #154 are not provided in the current documentation.
- Firewall Outbound Ports: While internet connectivity is required, specific outbound firewall port rules for HTTPS (port 443), MQTT (port 8883), and HTTP (port 80) are not explicitly documented for VRM communication. Ensure your network allows general outbound internet traffic.
Two-Step Verification (2FA) Recovery
Two-Step Verification adds an extra layer of security to your VRM account, requiring both your password and a security code. If you lose access to your 2FA method, you can reset it.
Procedure for Resetting 2FA:
- When attempting to log in to the VRM portal, enter your password.
- Below the 2FA box, locate and select the option to "Reset 2 Factor Authentication".
- Follow the prompts to reset your 2FA via an email link sent to your registered email address.
Remote Diagnostics and Management Tools
The VRM portal and Venus OS offer several tools for remote diagnostics and system management.
Remote Console
The Remote Console feature allows you to access the graphical user interface of your GX device remotely, either through the VRM portal or your local network. This is useful for checking settings and status as if you were physically in front of the device.
Remote VEConfigure
For systems with VE.Bus products (such as MultiPlus, MultiPlus-II, Quattro, or high-power inverters), Remote VEConfigure allows you to change settings remotely via the VRM Portal. This requires your GX device to be connected to the internet.
Remote Firmware Updates
You can update the firmware of internet-connected Victron products directly from the VRM Portal, provided they are connected via a GX device. This simplifies keeping your system up-to-date.
Advanced Diagnostics with SSH Access
For in-depth troubleshooting and access to system logs, you can enable SSH (Secure Shell) access on your GX device. This requires setting a temporary root password.
Procedure for SSH Access:
- Enable Superuser Access: On your GX device, navigate to the settings and set the access level to Superuser. The default password for Superuser access is
'ZZZ'. - Set Temporary Root Password: Go to
Settings -> Generalon your GX device and create a temporary root password. - Enable SSH on LAN: In the GX device settings, enable SSH on LAN (found under
Settings -> General). - Connect via SSH: Use an SSH client to connect to your GX device using the command
ssh root@<ip_address>, replacing<ip_address>with your GX device's IP address. Use the temporary root password you set.
This level of access is typically reserved for authorized service personnel due to the potential to alter critical system configurations.
Get three dated installer quotes for this system
Tell us your city and your summer electricity bill. We pass your number to up to three vetted installers who quote against the surveyed prices on this page, so nobody can quote you Rs 5 a watt over market.
How this pays for the site: installers pay SolarNevs a fixed introduction fee when we pass them a genuine enquiry. They cannot pay to appear higher, and our surveyed prices are published before any introduction. You can also take our dated price tables straight to any installer.
Frequently asked questions
What is the main purpose of Victron Cerbo GX & Venus OS VRM Troubleshooting Guide?
It provides official Victron Energy configuration rules, technical parameters, and step-by-step troubleshooting procedures.
How do I resolve issues related to victron vrm troubleshooting?
Follow the documented verification steps, check wiring and firmware, and ensure all parameters match official Victron specifications.
References
- Victron Support: Ess - Start — accessed 27 August 2026
- Victron Support: Venus-Os - Start — accessed 27 August 2026
- Victron Support: Actor Ess — accessed 27 August 2026
- Victron Support: Ess - Ess Mode 2 And 3 — accessed 27 August 2026
Related guides
More from sizing, net billing & installation.