The Solar Installation Process, Step by Step (And Where It Stalls)
Updated 18 September 2026 · By SolarNevs Research Desk, Dealer surveys + verified sources · 2 sources · Method ↗
Key Takeaways
- The physical install is one to three days. The project is one to three months — the gap is entirely paperwork.
- Two queues control your date and your installer controls neither: the permit office and the utility interconnection desk.
- Nothing turns on until PTO — permission to operate. Inspection passing is not permission; the array stays dark until the utility says otherwise.
- Design changes after filing restart the clock. Settle size, orientation, and battery before anything is submitted.
The eight stages
1. Site assessment. Someone measures the roof, checks structure and electrical service, and shades-analyzes the planes. This is also where roof condition gets judged — the single finding most likely to change the whole plan. Increasingly done remotely from satellite imagery first, in person second.
2. Design and proposal. Layout, module and inverter selection, production estimate, and the financial model. Read the production estimate as an estimate: it comes from modeling software, and the assumptions inside it — shading, degradation, rate escalation — are where optimistic proposals hide.
3. Contract. Where the terms that outlive the hardware get set: workmanship warranty on roof penetrations, production guarantee if any, and what happens if the permit office says no.
4. Permitting and interconnection. Two separate filings to two separate bodies. The building/electrical permit goes to your city or county. The **interconnection application** goes to the utility and determines your net metering terms — the more consequential of the two, since tariff grandfathering typically attaches to this date. HOA approval, where applicable, runs in parallel and has its own rules.
5. Equipment order. Usually overlapped with permitting by competent installers. Ask whether your quoted modules are actually allocated or merely specified.
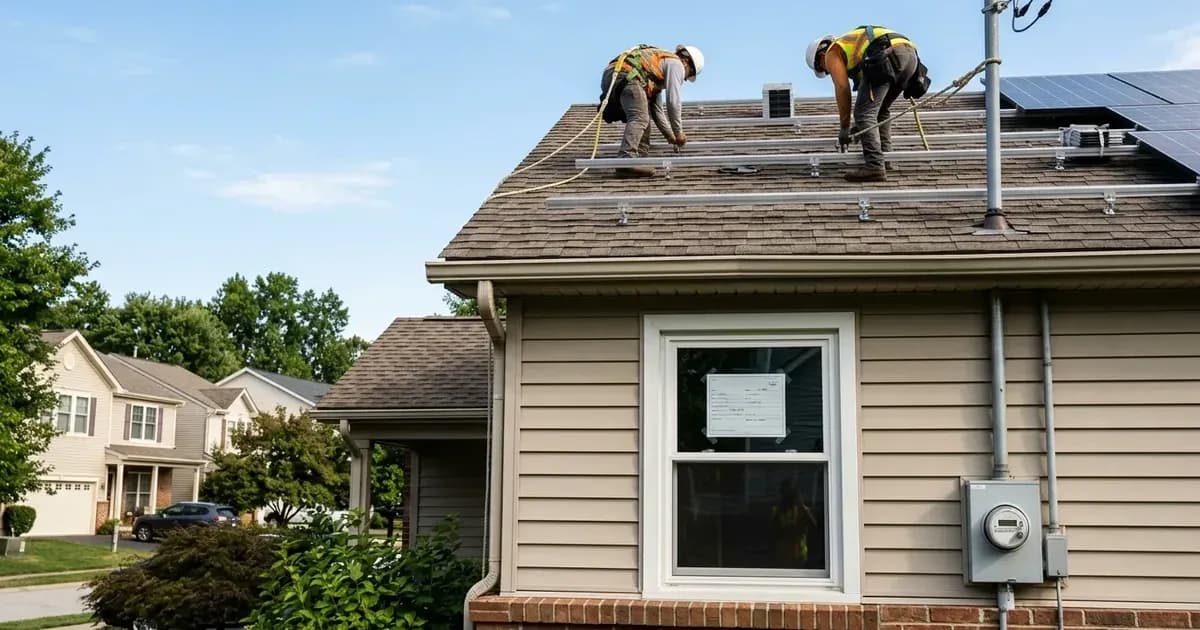
6. Installation. The part everyone pictures: racking, flashing, modules, wiring, inverter, and the electrical tie-in. One to three days for a typical residential system; a battery adds time and often a second visit.
7. Inspection. The local jurisdiction's electrical inspector signs off on the work. Corrections happen; they're normal and usually fast.
8. Permission to operate. The utility swaps or reprograms the meter as needed and issues PTO. Only now is it legal to energize.
Stage | Typical duration | Who controls it |
|---|---|---|
Assessment + design | Days to two weeks | Installer |
Contract | Your pace | You |
Permit + interconnection | Weeks — the long pole | City + utility |
Installation | 1–3 days | Installer |
Inspection | Days to weeks | Jurisdiction |
PTO | Days to weeks | Utility |
Ranges reflect common US residential practice; jurisdictions running automated permitting (SolarAPP+) compress stage four substantially.
Where it actually stalls
Read that table again and notice the shape: the two longest stages are the two your installer cannot speed up. Permit backlogs are a function of municipal staffing. Interconnection queues are a function of utility workload. An installer promising a specific date for either is guessing — and the good ones say so.
The one lever that genuinely helps is not changing anything after filing. Swapping a panel model, adding a battery, moving an array to a different roof plane — each can require a resubmission, and resubmission means the back of the queue. This is why pre-install decisions should be finished decisions. It's also why timing your project around a deadline means starting well before the deadline, not near it.
And do not let anyone energize before PTO. Not "just to test." Backfeeding a grid the utility hasn't authorized is a genuine safety issue for line workers, a tariff violation, and in some territories grounds for refusing interconnection outright. The array will sit finished and dark for a couple of weeks. That's the job.
What you should be doing during the wait
Get the boring things ready. Confirm how your utility will bill you post-PTO and what a solar bill actually looks like — the first one confuses nearly everyone. Set up monitoring credentials on install day rather than a month later. Note the maintenance schedule, which is thinner than you expect. And if an EV is in the household's future, think through the charging window now while an electrician is still on the calendar — running the circuit during the solar install is cheaper than a separate visit later.
Then, on some ordinary Tuesday, an email arrives, you flip the AC disconnect and the main breaker, and the meter starts running backwards. Two months of queues for a switch that takes four seconds — which is, honestly, the accurate summary of residential solar in America.
Frequently asked questions
How long does solar installation take?
The physical install is typically one to three days. The full project — assessment, design, permitting, installation, inspection, and permission to operate — commonly runs one to three months, and almost all of that is waiting on other people's queues.
What is permission to operate (PTO)?
PTO is the utility's written authorization to energize your system and export to the grid. It comes after the local jurisdiction's electrical inspection passes, and until it arrives the array must stay switched off — legally, no matter how sunny it is.
What are the steps in a solar installation?
Site assessment, system design and proposal, contract, permitting and interconnection application, equipment order, physical installation, municipal inspection, then utility permission to operate. Installation itself is the shortest stage.
Why is my solar project taking so long?
Almost always the permit office or the utility's interconnection queue — neither of which your installer controls. Roof or panel changes force resubmission and restart the clock, which is why the design should be settled before anything is filed.
References
- US DOE – Homeowner's guide to going solar — accessed 5 August 2026
- US DOE SolarAPP+ – Automated permit processing for rooftop solar — accessed 5 August 2026
Related guides
More from schemes, subsidies & financing.