Sungrow Smart Meter Wiring and Zero Export Setup Guide
Updated 6 September 2026 · By SolarNevs Research Desk, Dealer surveys + verified sources · 2 sources · Method ↗
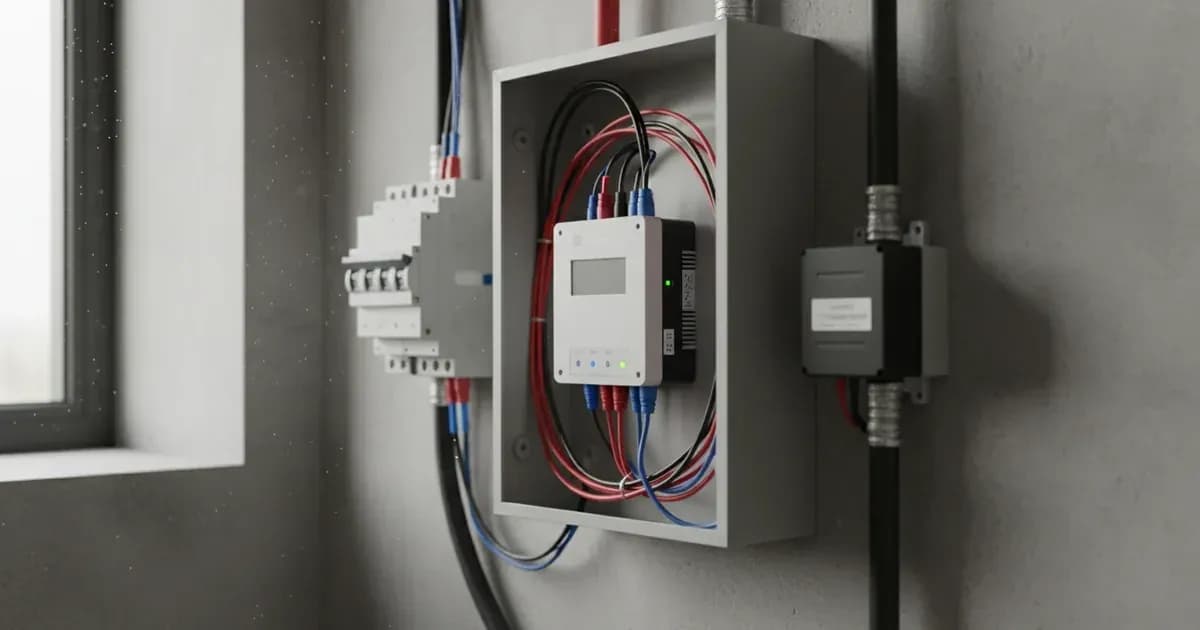
This guide provides definitive instructions for wiring Sungrow DTSU666 and DTSU666-20 smart meters and configuring zero export functionality with Sungrow hybrid inverters. Accurate installation ensures your solar system complies with grid regulations by preventing unwanted power export and provides precise real-time monitoring via iSolarCloud.
1. Safety First: Essential Precautions
Before commencing any wiring or installation work, prioritize safety to prevent electrical hazards and equipment damage.
- Isolate Power: De-energize the main distribution board and isolate all circuit breakers.
- Discharge Capacitors: Switch off all AC and DC isolators and wait at least 5 minutes before opening inverter wiring compartments. This allows internal capacitors to safely discharge.
- Authorized Personnel: Opening the inverter enclosure is authorized-service work.
2. Sungrow Smart Meter Overview
Sungrow smart meters, specifically the DTSU666 (Single-Phase / 3-Phase) and DTSU666-20 (Three-Phase) models, are crucial for monitoring energy flow and enabling zero export. These meters communicate with Sungrow hybrid inverters via RS485.
Installation Stage / Component | Technical Requirement & Wiring Rule | Operational Function & Verification |
|---|---|---|
Electrical Isolation | De-energize distribution board; wait 5 minutes for capacitor discharge | Prevents electrical shock and damage to internal circuitry |
Grid Incomer Placement | Install meter and CTs at main grid connection before sub-distribution | Captures total household consumption and bidirectional grid flow |
RS485 Communication | Shielded twisted-pair CAT5e/CAT6 to RS485-A and RS485-B terminals | Prevents electromagnetic interference and enables reliable inverter telemetry |
CT Clamp Orientation | Current transformers oriented with arrows pointing towards household loads | Distinguishes import vs export; reverse if consumption shows as generation |
Phase Alignment (3-Phase) | Match voltage inputs (UA, UB, UC) strictly with corresponding CT phase sensors | Eliminates phase-angle calculation errors in DTSU666-20 energy measurements |
iSolarCloud Configuration | Enable 'Feed-in Limitation' and set export power limit to 0 kW | Dynamically modulates inverter output to enforce zero grid feed-in |
3. RS485 Communication Wiring
The smart meter communicates with the inverter using a dedicated RS485 interface.
3.1. Cable Requirements
Use shielded twisted-pair CAT5e or CAT6 cable for RS485 connections. This type of cable prevents electromagnetic signal distortion, ensuring reliable communication.
3.2. Terminal Connections
Connect the communication lines to the RS485-A and RS485-B terminals on the smart energy meter. Sungrow hybrid inverters communicate with smart energy meters via dedicated RS485 communication terminal blocks.
4. Current Transformer (CT) Clamp Installation
Correct CT clamp installation is vital for accurate power measurement and zero export functionality.
4.1. Location
The smart meter and CTs must measure total power flow at the main grid connection point before any sub-distribution boards. This ensures all household loads and grid interactions are accurately monitored.
4.2. Orientation
Position external current transformers on incoming grid phases with arrows pointing towards the household loads. This orientation tells the inverter the direction of current flow, distinguishing between grid import and export.
4.3. Three-Phase Installations
For three-phase installations, ensure voltage phase inputs (UA, UB, UC) match the corresponding CT phase sensor wiring strictly. Incorrect phasing can lead to inaccurate readings.
5. Zero Export Configuration via iSolarCloud
Once the smart meter and CTs are wired, configure the zero export setting using the iSolarCloud app.
5.1. Access iSolarCloud
Log in to your iSolarCloud account.
5.2. Enable Feed-in Limitation
In the iSolarCloud app, enable 'Feed-in Limitation'.
5.3. Set Export Limit
Set the export power limit to 0 kW for zero grid export. This setting instructs the inverter to modulate its output to prevent any power from being sent back to the grid.
6. Verification and Troubleshooting
After setup, verify that your system is operating correctly and troubleshoot common issues.
6.1. Real-Time Power Flow
Accurate meter wiring enables iSolarCloud to display live generation, household consumption, and grid import/export flows. Monitor these values to confirm correct operation.
6.2. Reverse CT Troubleshooting
If grid consumption shows as generation in iSolarCloud, reverse the CT clamp orientation on the incoming line. This indicates that the CTs were initially installed with the arrows pointing in the wrong direction.
By following these steps, you ensure your Sungrow solar system operates efficiently and in compliance with zero export requirements, providing reliable energy management and monitoring.
Add a battery at a surveyed price
Installers quote supply and fitting of the battery on this page for your existing or new system.
How this pays for the site: installers pay SolarNevs a fixed introduction fee when we pass them a genuine enquiry. They cannot pay to appear higher, and our surveyed prices are published before any introduction. You can also take our dated price tables straight to any installer.
Frequently asked questions
What are the essential requirements for sungrow smart meter wiring and zero export setup guide?
Verify system specifications, local regulations, and standard installation safety procedures prior to commissioning.
How do I ensure regulatory compliance?
Ensure all equipment is approved on relevant regulatory registries and installed by accredited certified professionals.
References
- Sungrow DTSU666-20 Three-Phase Smart Energy Meter Quick Installation Guide — accessed 27 August 2026
- Sungrow iSolarCloud App Commissioning Guide (V1.2, official Sungrow service) — accessed 27 August 2026
Related guides
More from what to buy — and how not to get cheated.